How To: Install and Configure Looking Glass 3D Desktop

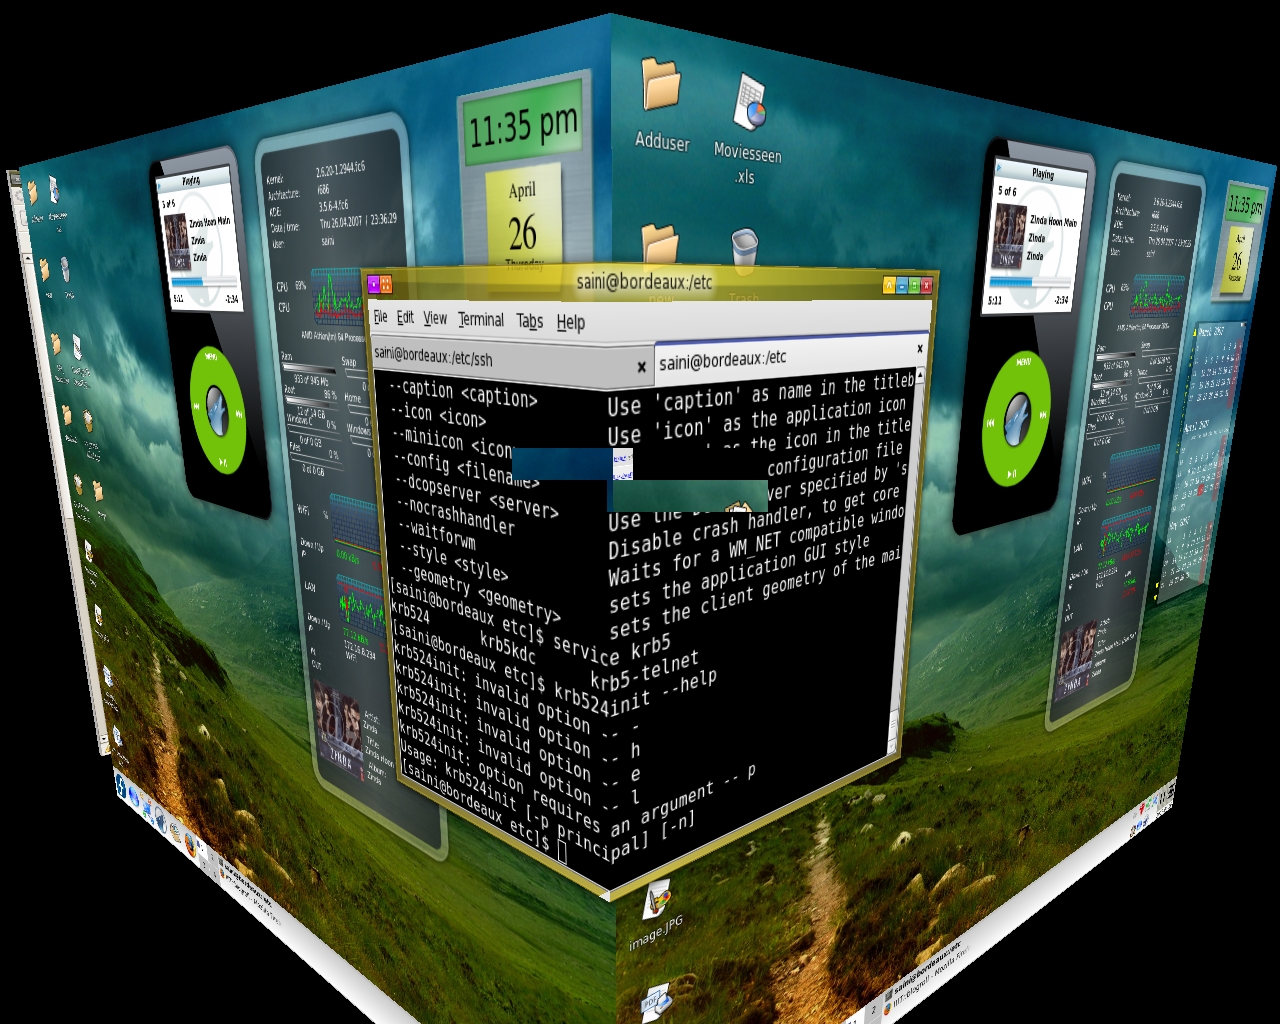
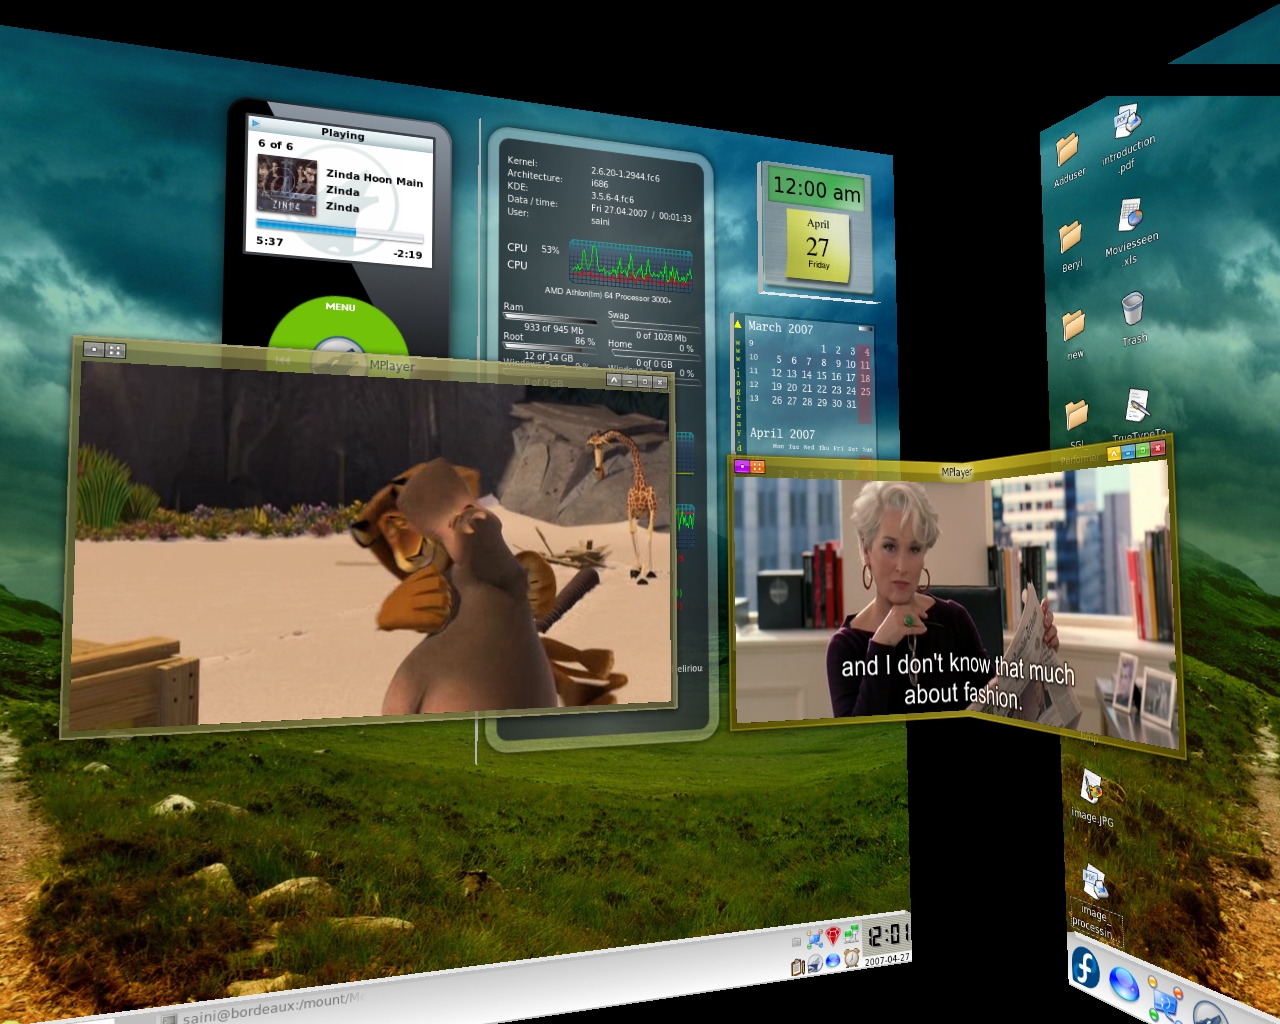
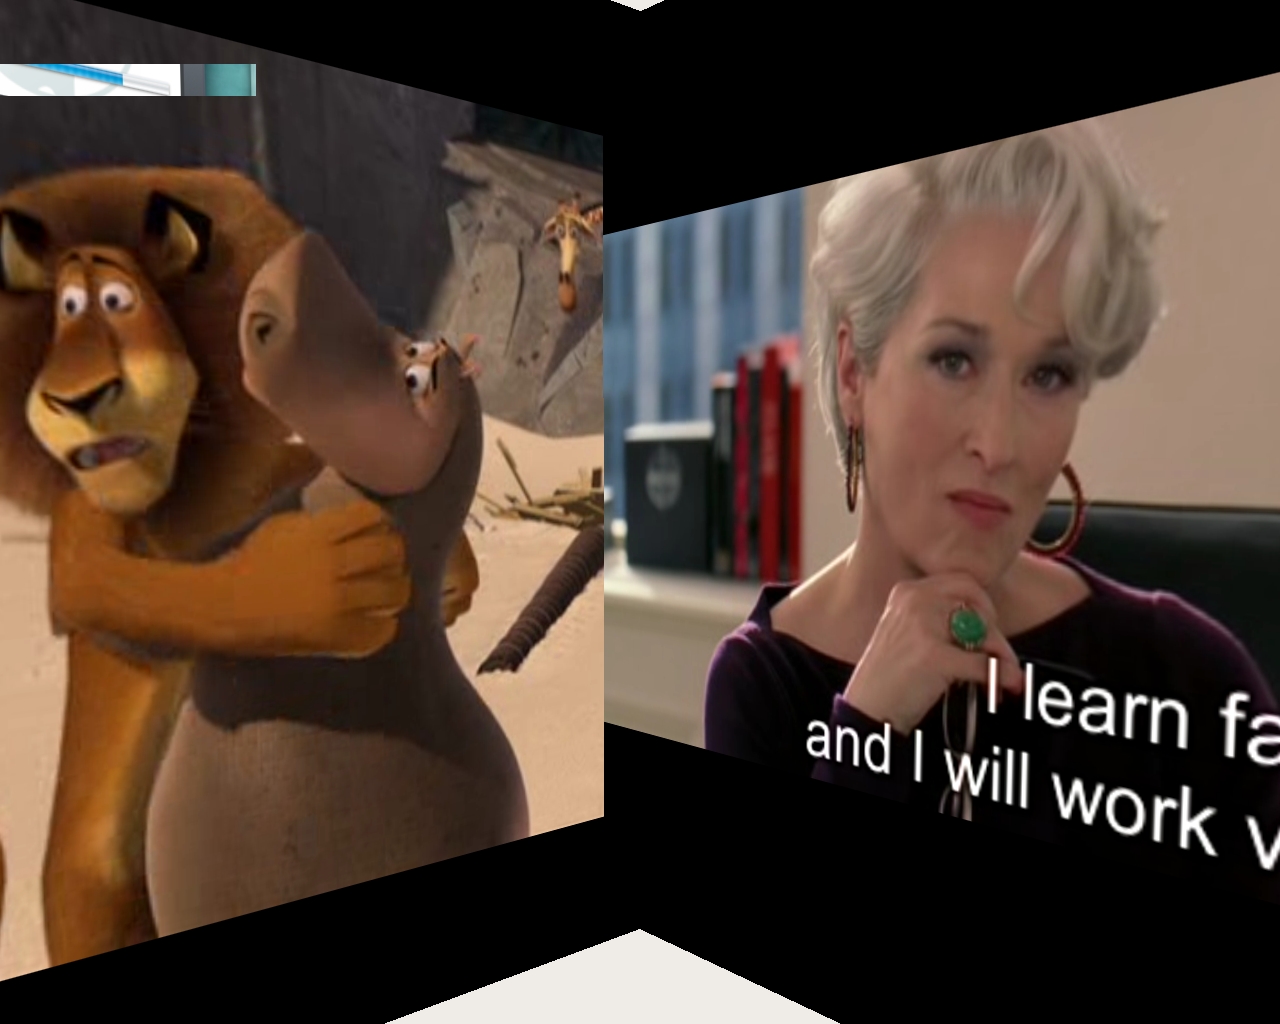
I saw a video from Sun MicroSystems last year, in which they showed a demo version of a 3D desktop environment. It was really awesome and was the really 3D desktop environment. A lot of 3D desktop emulators are available currently like beryl, but they are not really 3D. Because one can’t go behind the windows, terminals etc. Believe me, Looking Glass 3D is far better than all vistas and beryls if only graphics are compared. Around two-three weeks when I was going through one of the tech magazines in library, I came across a topic which discussed desktop environments for Linux. I was surprised to see Project Looking Glass over there. Day before yesterday, I downloaded the Project Looking Glass 3D desktop environment for Linux from here.Project Looking Glass 3D desktop environment is a purely Java based desktop environment and it runs on top of Java virtual machine. It requires graphics card (at least on board). Here is a way to install nVidia drivers in Linux. The other requirement like processor and RAM are quite low and almost all systems can qualify for that. Looking Glass 3D is very easy to install. Below are the steps to install it on Fedora 7 (kernel-2.6.22.1-41.fc7, but the steps for other operating systems may be similar.

Step 1

Get lg3d–1-0-0-linux-i686-0612190943.bin from here.

Step 2

In a terminal switch to root user.

1
2
[saini@bordeaux saini]$ su [Enter]
Enter root password.

Step 3

Move the lg3d–1-0-0-linux-i686-0612190943.bin to /usr/share/ and go to directory /usr/share/

1
2
[root@bordeaux saini]$ mv lg3d--1-0-0-linux-i686-0612190943.bin /usr/share/ [Enter]
[root@bordeaux saini]$  cd /usr/share/ [Enter]

Step 4

Extract lg3d–1-0-0-linux-i686-0612190943.bin

[root@bordeaux share]$ bash  lg3d--1-0-0-linux-i686-0612190943.bin [Enter]

The files will be extracted to /usr/share/lg3d/

Step 5

Logout and login into root’s desktop environment and go to the directory /usr/share/lg3d/bin/

[root@bordeaux root$ cd /usr/share/lg3d/bin/ [Enter]

Step 6

Execute the following command.

[root@bordeaux bin]$ bash ./postinstall [Enter]

If this command doesn’t give any error, that means you have successfully installed the Looking Glass 3D desktop environment.

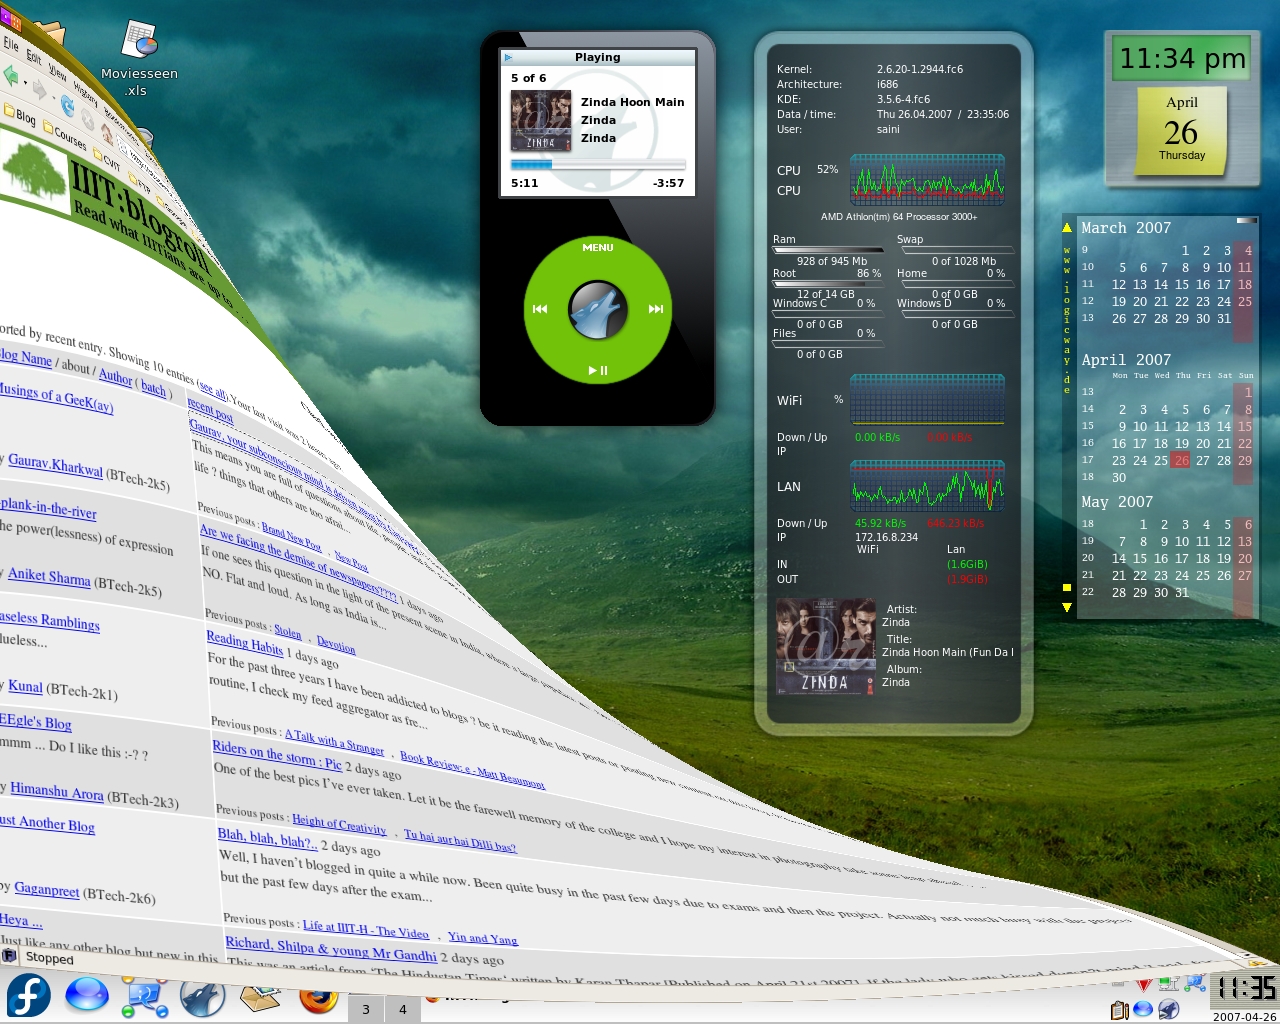
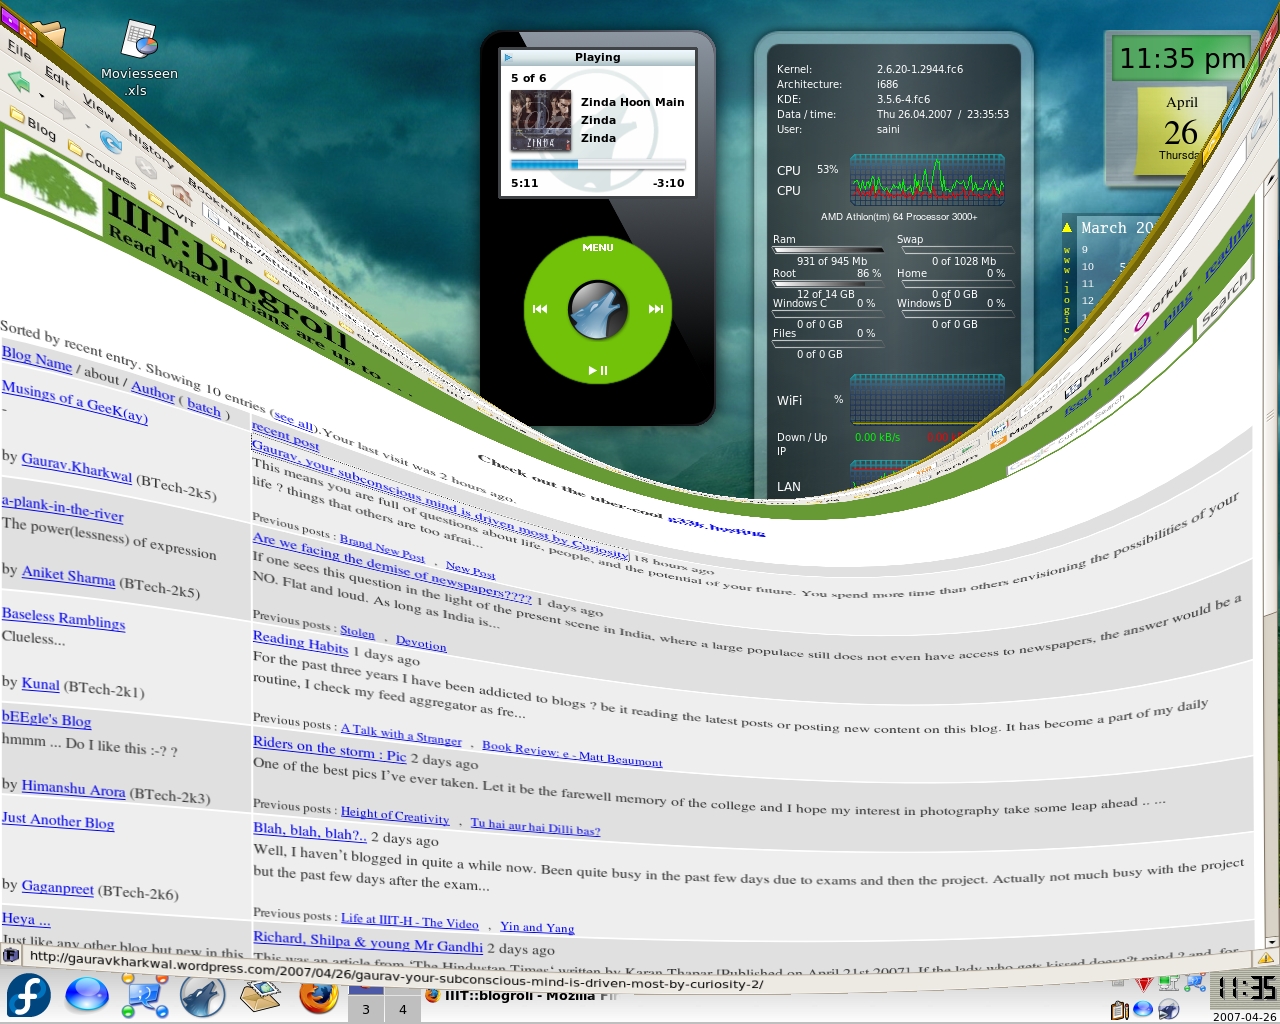
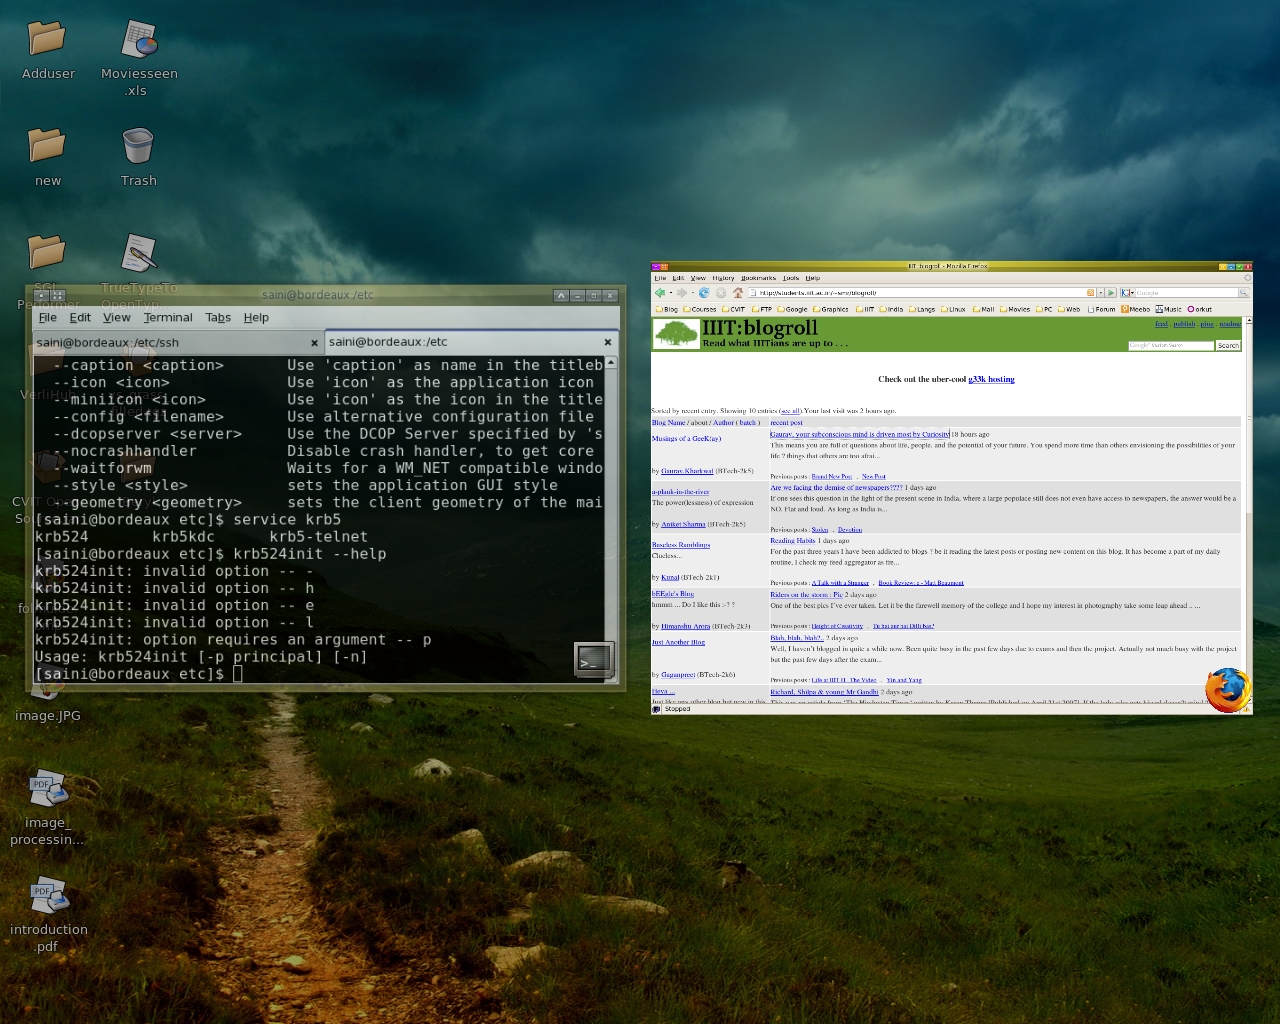
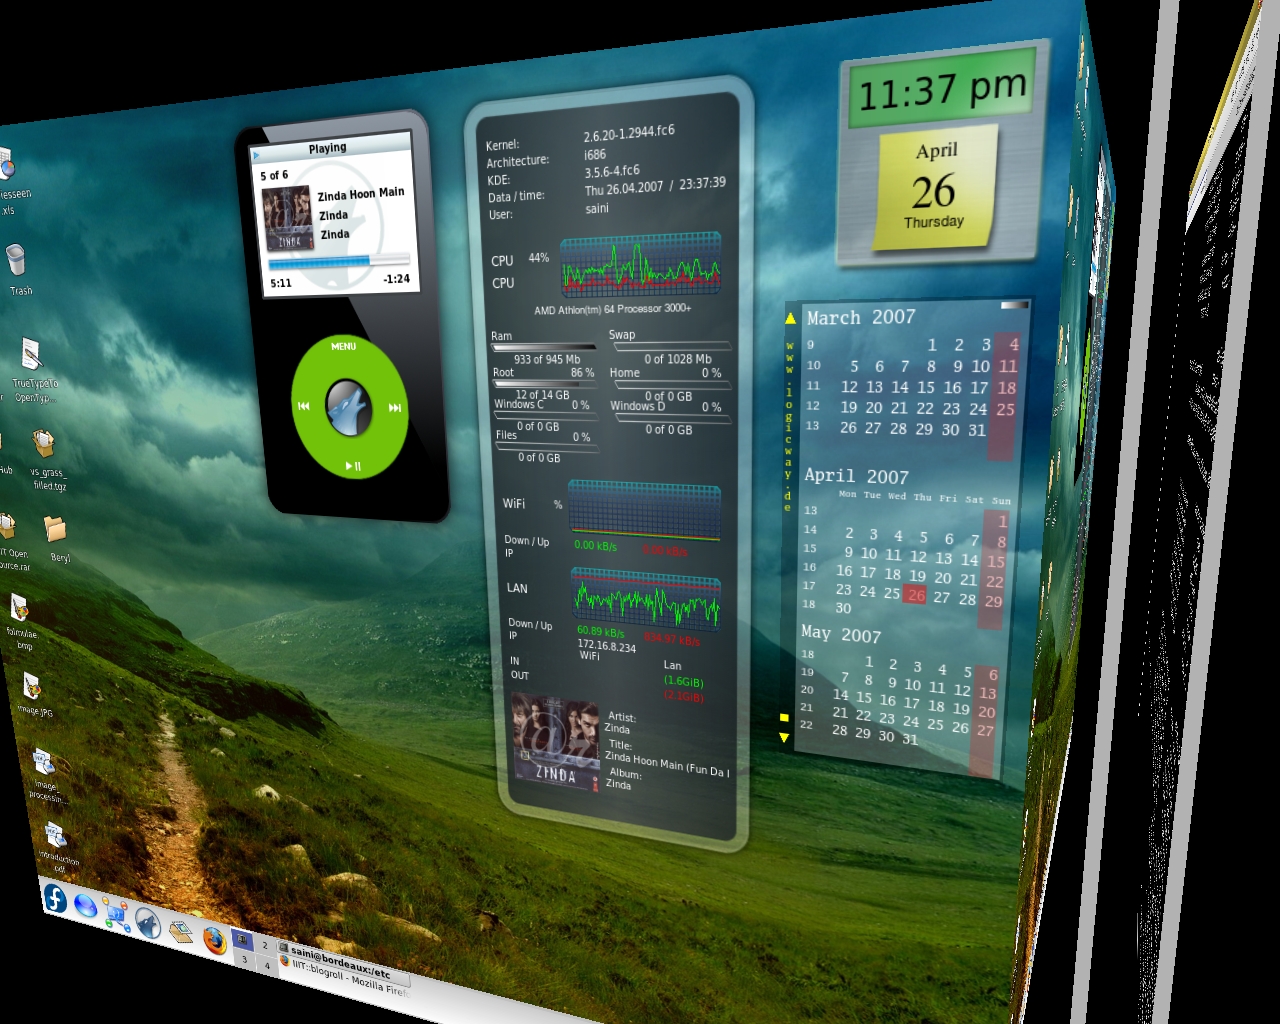
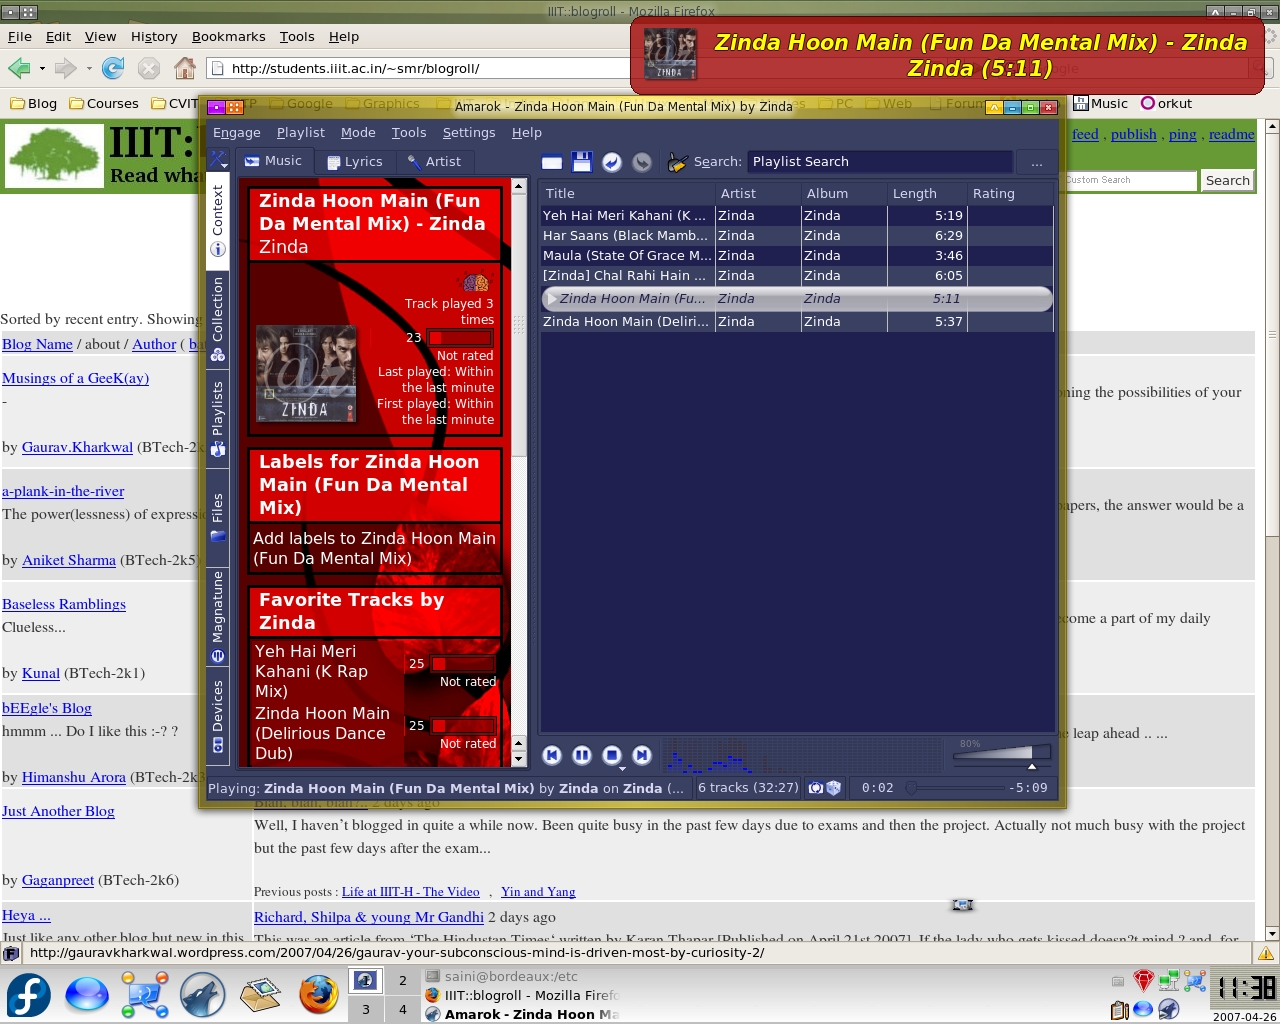
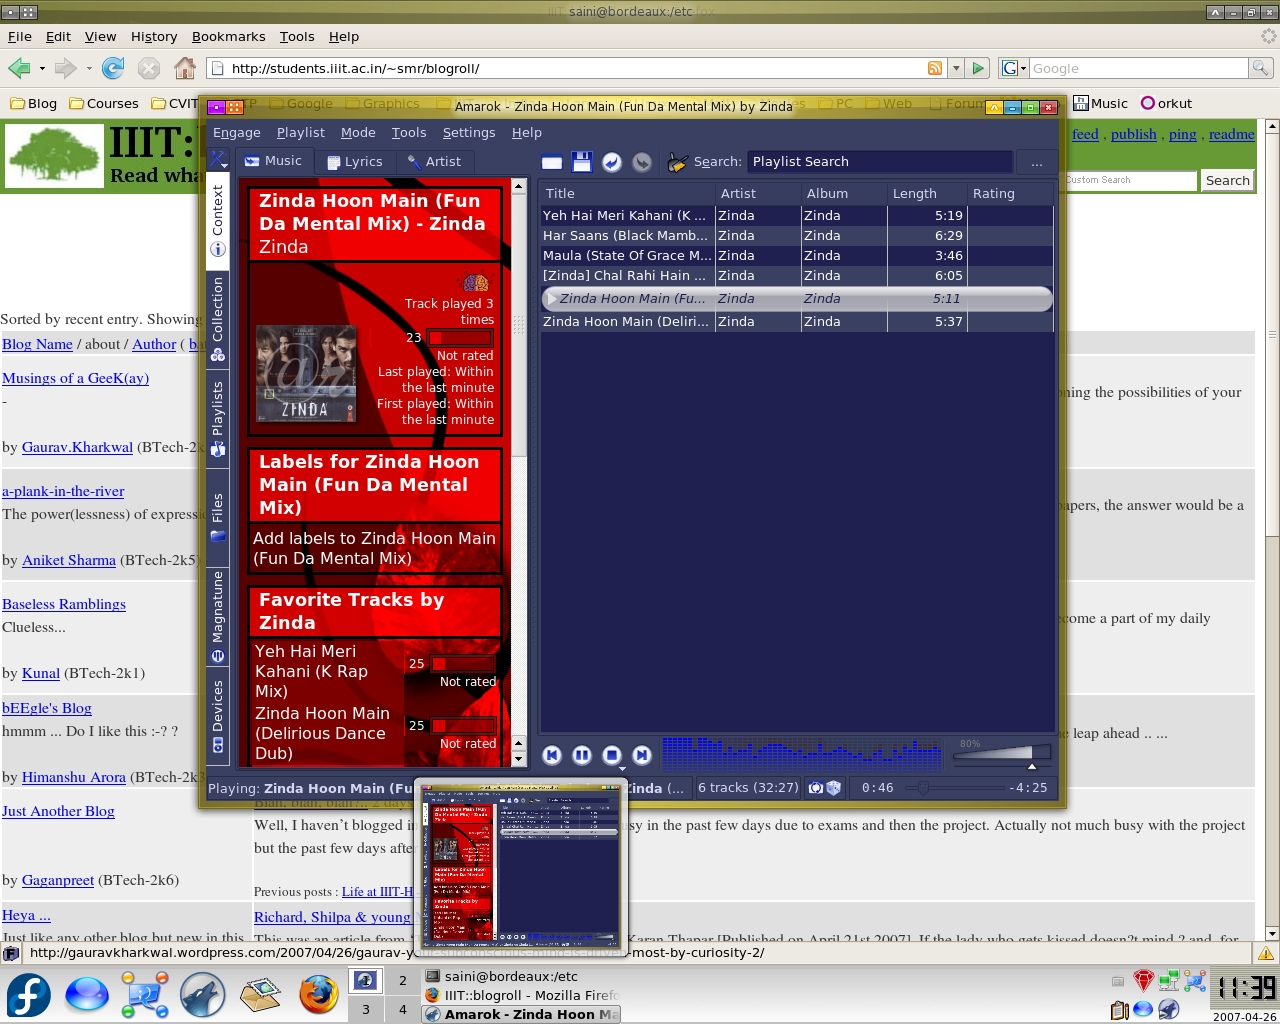
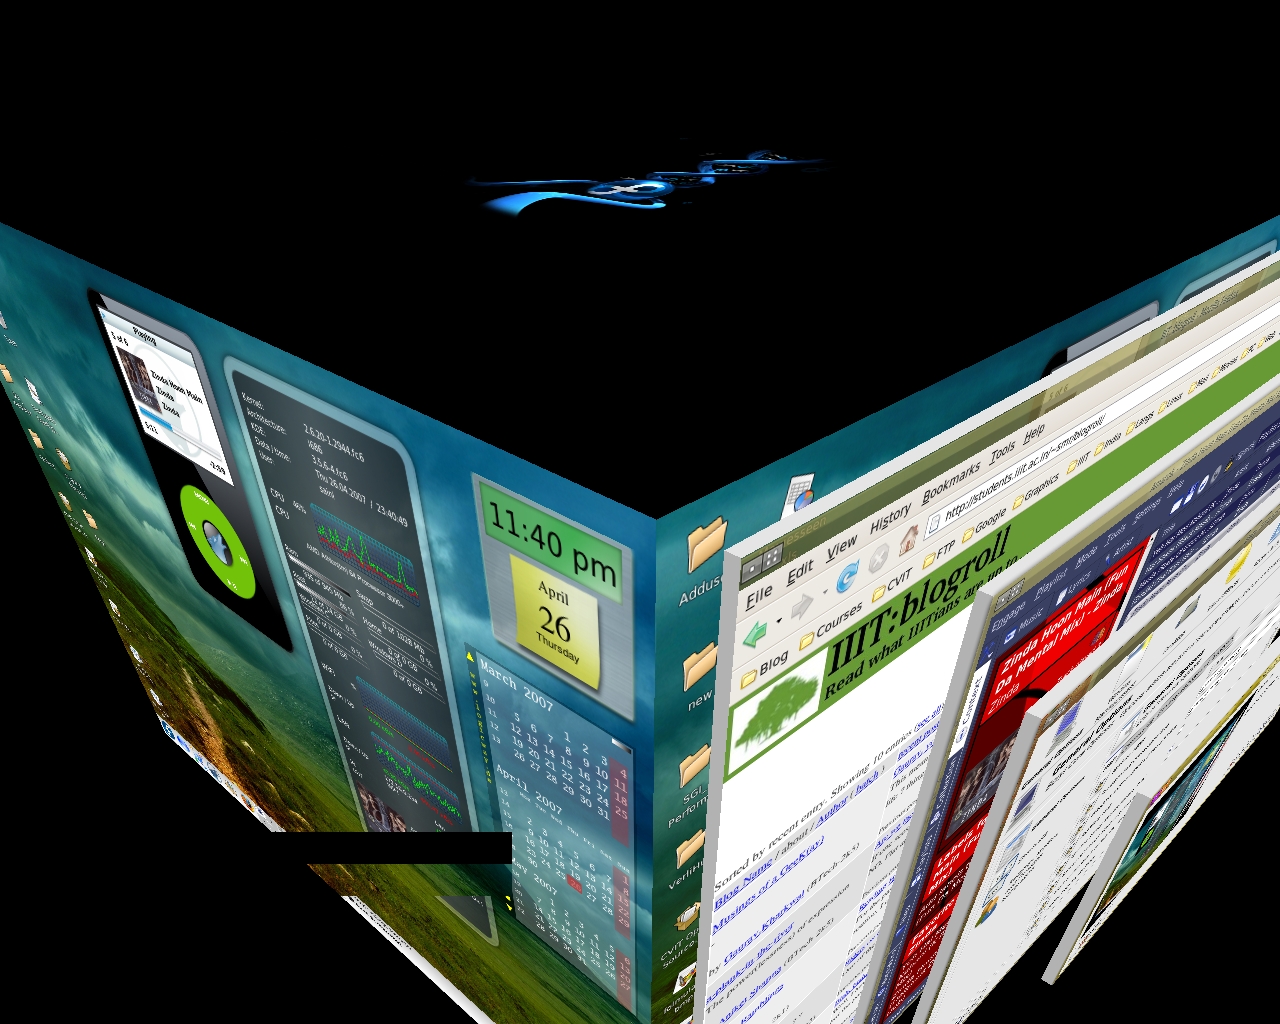
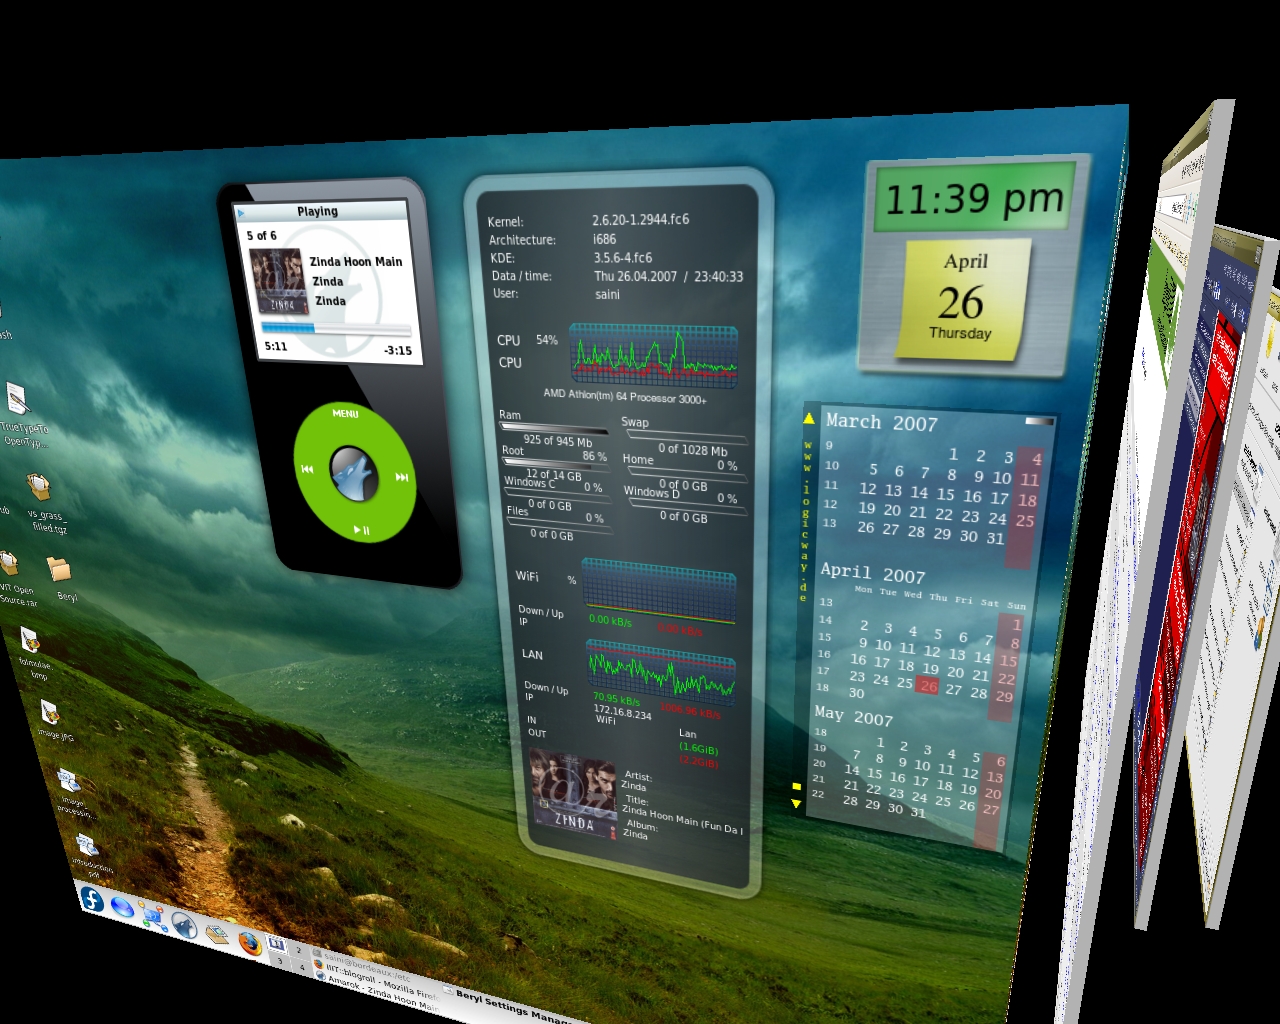
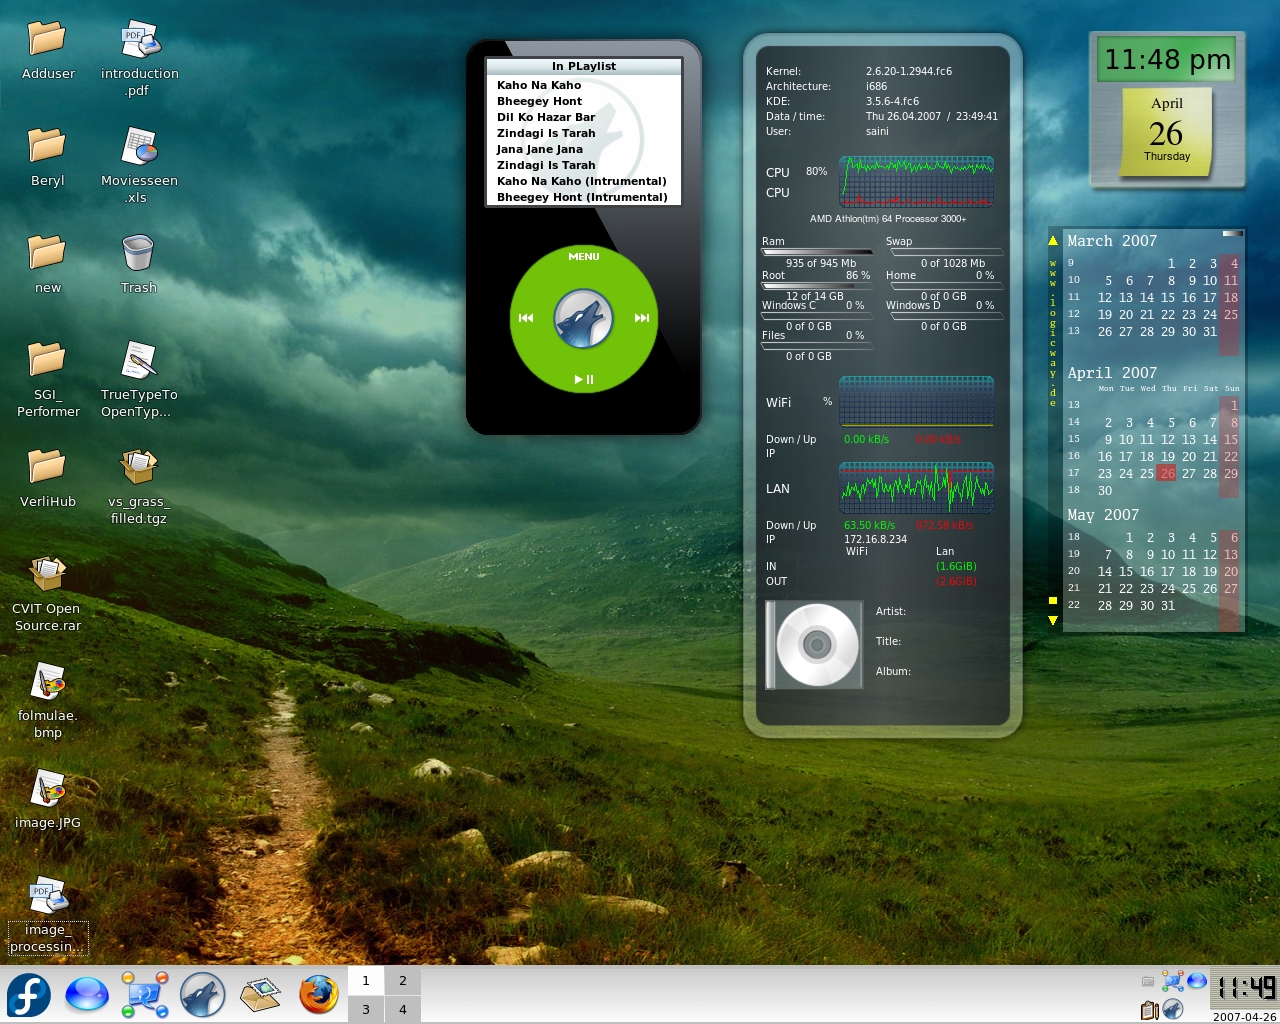
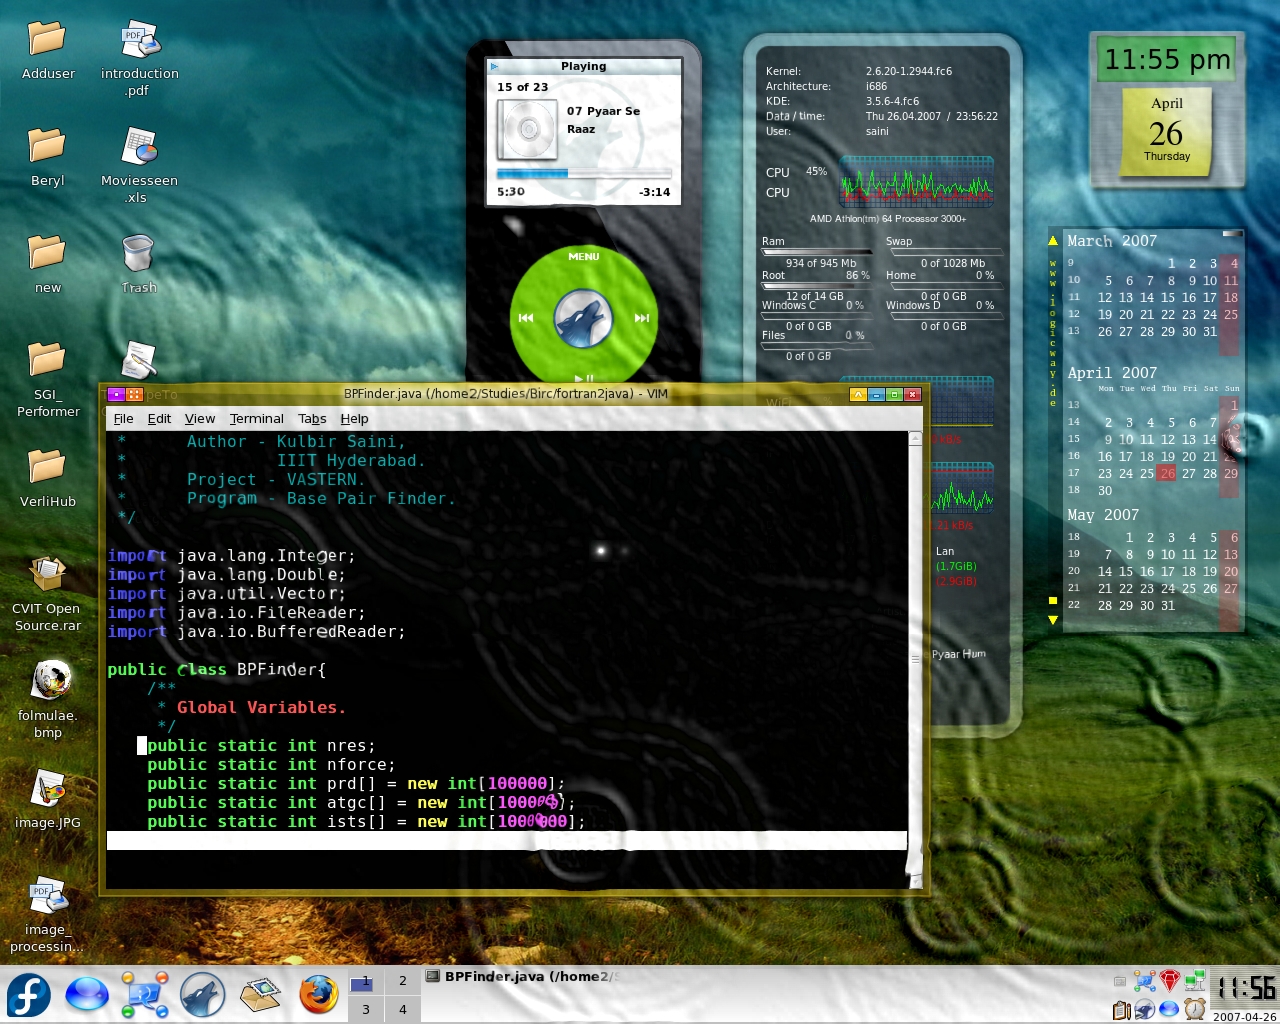
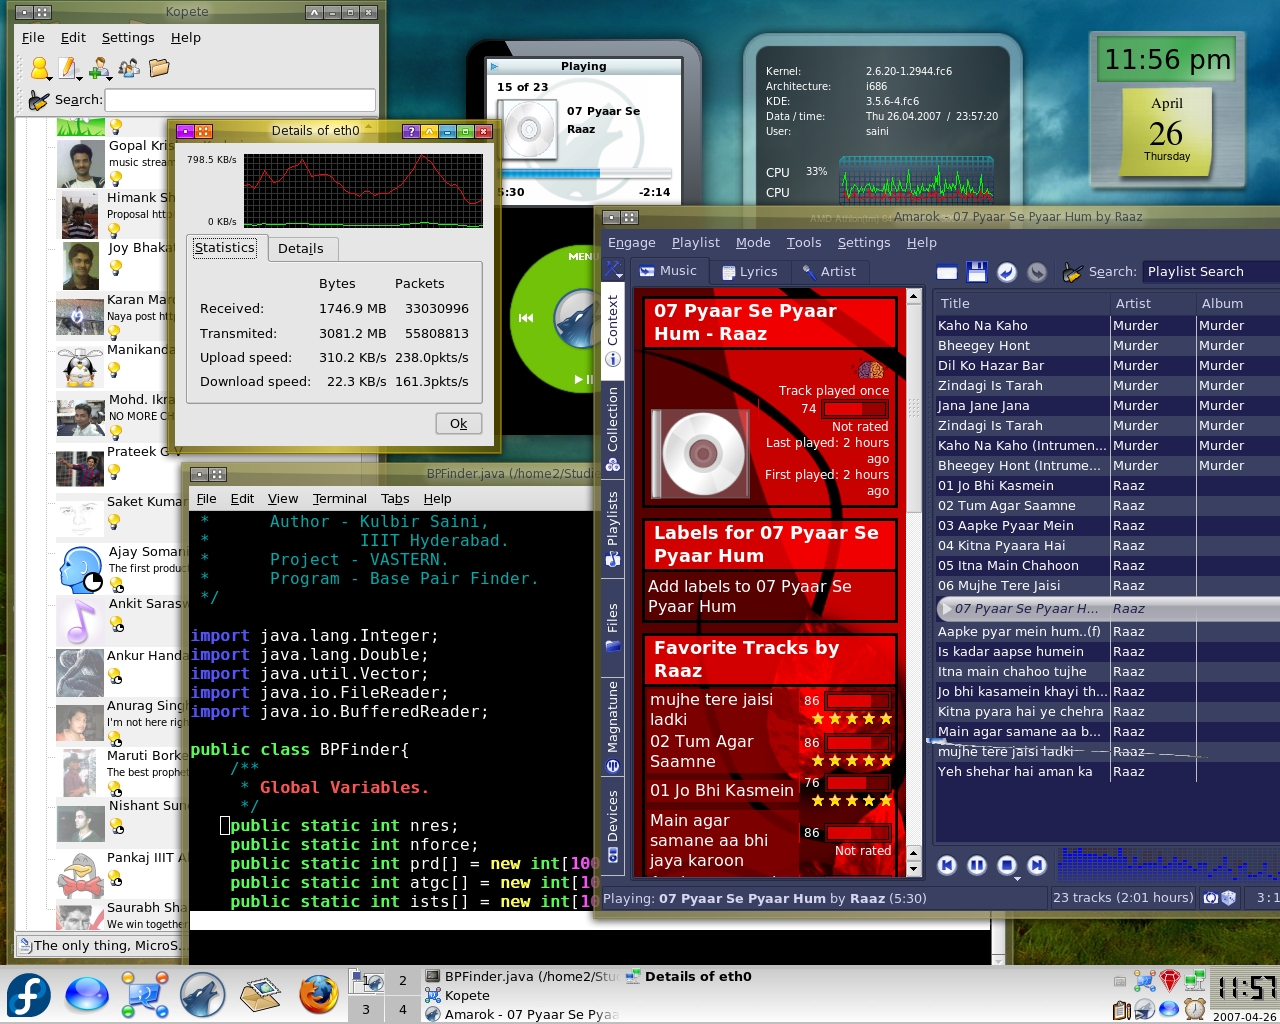
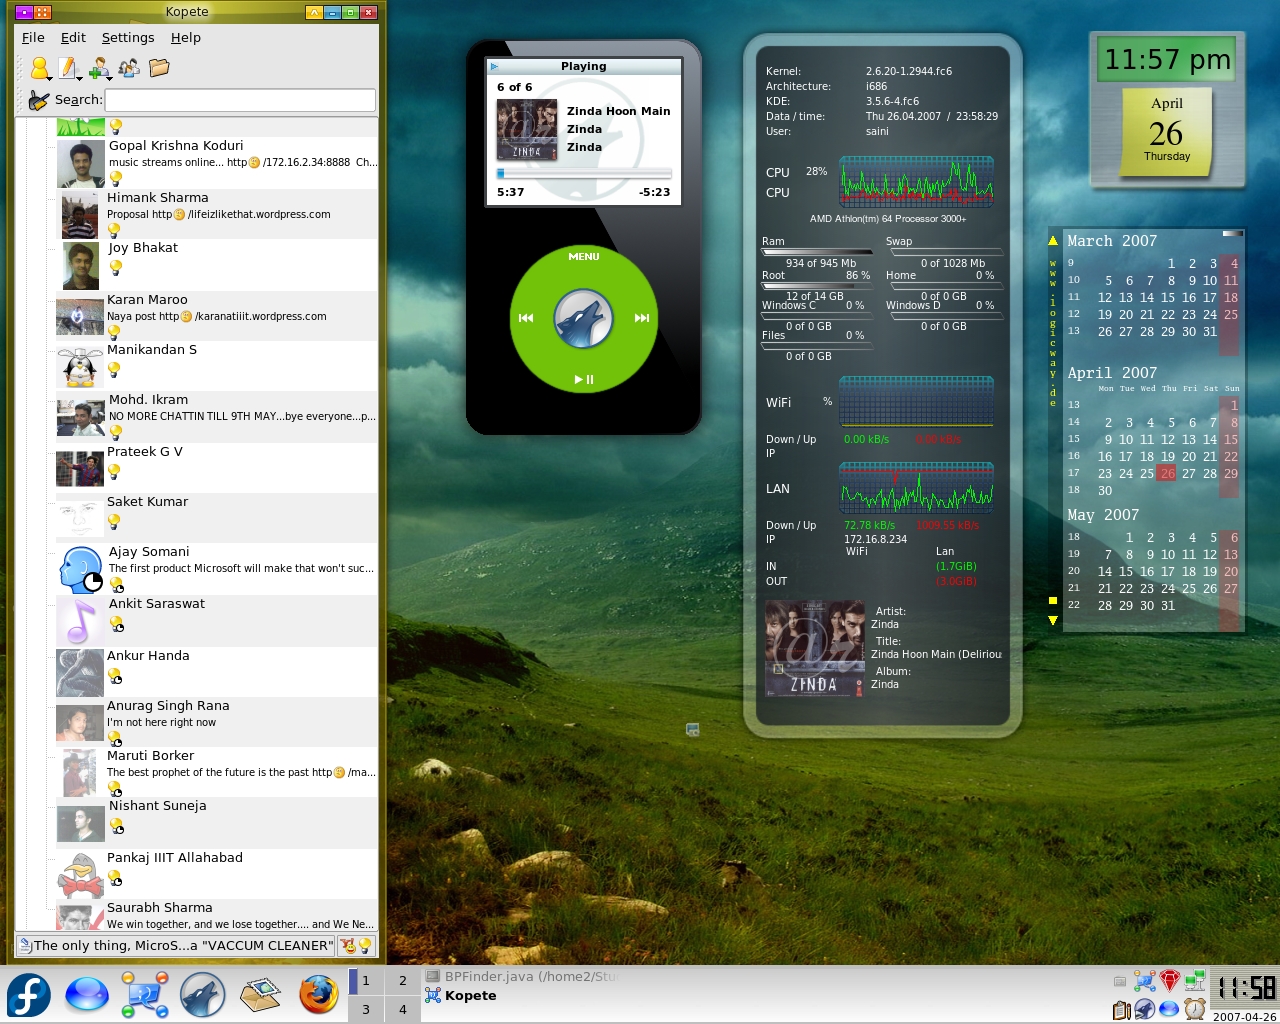
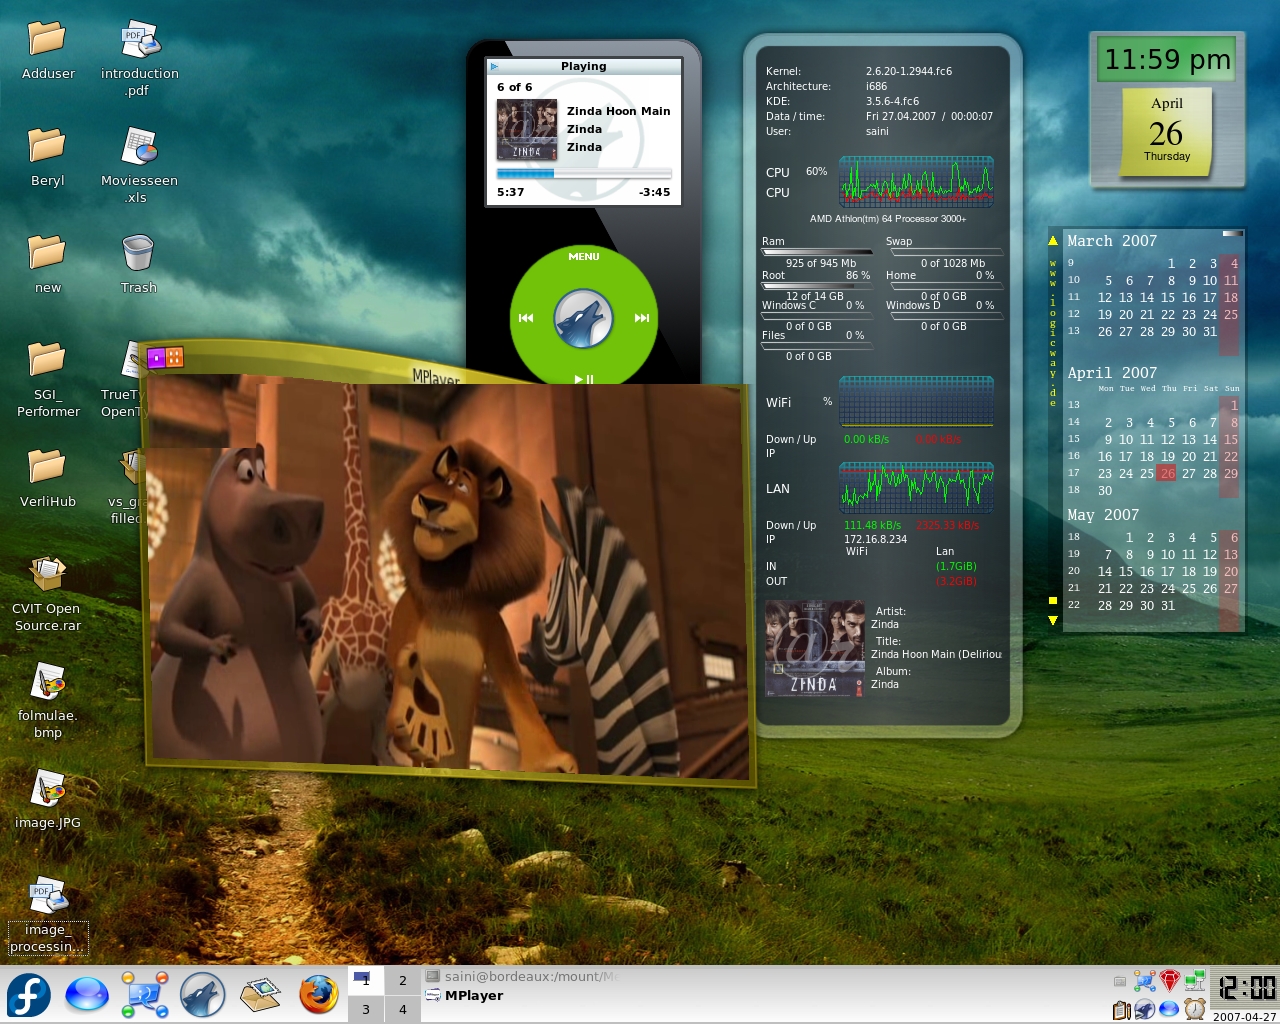
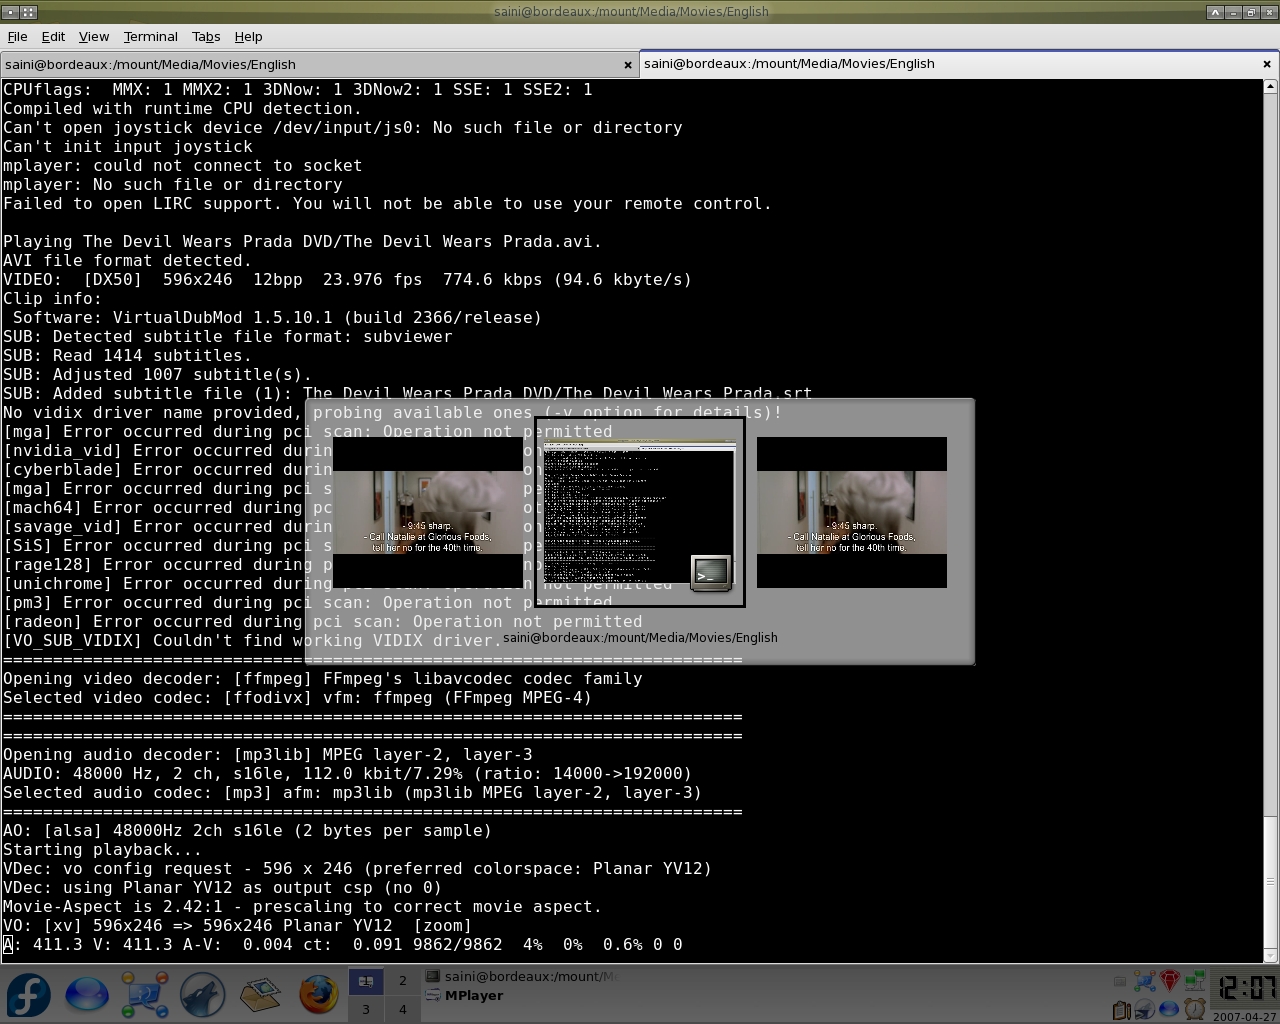
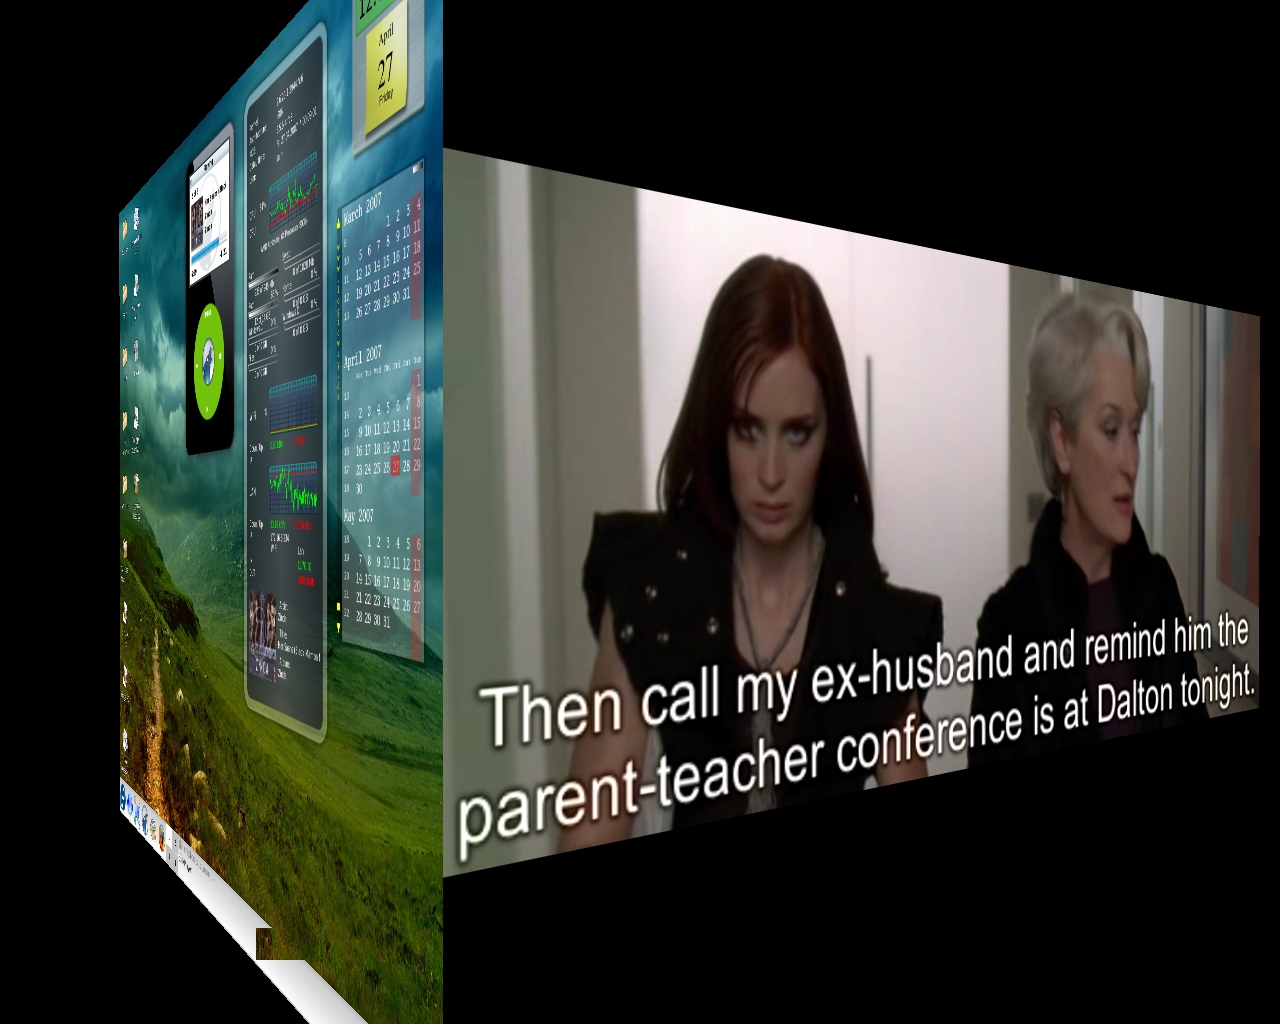
Now logout and on the login screen, choose Looking Glass as the desktop environment. Just login into your account and what you will see will be more than a surprise. Below are some screenshots of my Looking Glass 3D desktop. You can browse all my screenshots here .

PS0 : It may the best 3D desktop environment but is not really usable on slower machines especially with low end graphics cards.

Awesome Wallpaper in Looking Glass 3D 3D Clock in Looking Glass Four Desktops in Looking Glass Notes on Backside of VLC Media Player in Looking Glass

Trumplayer Album Art in Looking Glass I Can't Read Mails in Looking Glass Jumbled Directories in 3D in Looking Glass Random Directory 3D Tiles in Looking Glass


How To: Install and Configure NVIDIA Drivers and Beryl

Well, finally I realized the power of my onboard graphics card … too lazy to realize even this (it took me a year to realize this obvious fact). I downloaded the latest nVidia drivers from here and also upgrade to the kernel-2.6.20-1.2944.fc6. You can get it from any site which provides rpms or you can install is using yum. Not to forget I did it on Fedora Core 6 – Zod. So, here goes the exact procedure.

Warning: Take a backup of your /etc/X11/xorg.conf file before experimenting with 3D desktop. It help in case of X server crashes.

1. Download the latest nVidia drivers from here.

2. Upgrade to kernel-2.6.20-1.2944.fc6

(a)Download rpms kernel-2.6.20-1.2944.fc6.i686.rpm and kernel-devel-2.6.20-1.2944.fc6.i686.rpm and install using

[root@zod saini] rpm -ivh kernel* [Enter]

OR
(b)

[root@zod saini] yum install kernel-2.6.20-1.2944.fc6 [Enter]

3. Reboot and switch to the newly installed kernel.

4. Login as root and delete the temp file for xserver

[root@zod saini] rm -f /tmp/.X0.lock [Enter]

5. Install the nVidia drivers

[root@zod saini] bash NVIDIA-Linux-x86-1.0-9755-pkg1.run --kernel-source-path=/usr/src/kernels/2.6.20-1.2944.fc6-i686/ [Enter]

A user interface(I don’t know what to call it, graphical user interface on command line) will appear, answer the basic questions and you are done.

6. run this command

[root@zod saini] nvidia-xconfig [Enter]

7. Open your /etc/X11/xorg.conf file in you favourite(Vim) editor and edit it as follows …

Add these lines to the “screen” section

1
2
Option     "AddARGBGLXVisuals" "True"
Option     "DisableGLXRootClipping" "True"

and Add this line to the “Device Section”

Option         "TripleBuffer" "true"

or you can use my xorg.conf with appropriate modifications.

8. Now install Beryl + emerald or compiz

(a) Get rpms from any site which supplies rpms for packages in fedora and install

[root@zod saini] rpm -ivh beryl-* emerald-* [Enter]

OR

[root@zod saini]  rpm -ivh compiz-* [Enter]

(b) There is always a short cut

[root@zod saini]  yum install beryl* emerald* [Enter]

OR

[root@zod saini]  yum install compiz* [Enter]

9. Now logout and login again and run command beryl-manager or compiz and you are done with installing beryl/compiz with latest nVidia drivers. Enjoy the 3D desktop.

10. If in the above process your X-server crashes, press Ctrl-Alt-F1 and login as root, replace your existing /etc/X11/xorg.conf file with the backup you took in the beginning and do startx.

I installed the above packages on Fedora Core 6, the Hardware is Nvidia Ge Force 6100 onboard.

Here are some screenshot of my 3D Desktop ( They can also be seen here ).


How To: Configure Wireless with Ralink (RT2500) Level One WNC 0301 in Fedora Core 4

Yesterday after a lot of trials with Fedora Core 5 to activate my wireless LAN card, I switched to Fedora Core 4, which looked much more stable than FC5. Actually with FC5, I mainly faced problems with gui , my mouse which is Microsoft USB mouse and my wlan card which is level one Ralink RT2500. In FC5, I tried both with ndiswrapper and madwifi but nothing worked out for me. Also my mouse was not working well. I can click things but the pointer was not visible like microsoft gave me a invisible mouse or this microsoft mouse don’t want to work with Linux. After installing FC4, I felt very comfortable with guis and my mouse. They worked fine. But now there were two problems. One is that FC4 was not able to detect my soundcard and the wlan was not working again. Anyway soundcard is not a big problem, as it worked in FC5, I’ll make it work with some up-gradation or things like that. But the major problem is wlan. And here goes the methods which I tried to activate my wlan card.

Method 1. With rpms

I downloaded these rpms

1
2
3
madwifi-0.9.4.12-16.rhfc4.at.i386.rpm
madwifi-kmdl-2.6.11-1.1369_FC4-0.9.4.12-16.rhfc4.at.i686.rpm
madwifi-hal-kmdl-2.6.16-1.2111_FC4smp-0.9.6.0-20.rhfc4.at.i686.rpm

from the site atrpms and tried installing them but they failed the dependency /boot/vmlinuz-2.6.16-1.2111_FC4 , then i tried to find this rpm everywhere on google , rpmfind etc …. but I could not find it. Then I installed it with –nodeps option and configured according to the data given here .
But in vain.

Method 2. With ndiswrapper using Microsoft Windows XP drivers

I downloaded the ndiswrapper-1.16 from sourceforge.
I untarred it and used these commands.

1
2
3
make uninstall
make
make install

Please don’t forget to the read the INSTALL and README files in the ndiswrapper-1.* directory. Then I inserted my LAN card driver cd for XP and copied the drivers directory which contains .inf and .sys files to my root directory. Then I used the commands .

1
2
3
4
5
ndiswrapper -i Rt2500.INF
ndiswrapper -l
modprobe ndiswrapper
iwconfig "wlan0" key open "wep 128 bit hex key" ESSID "IIIT WLAN"
dhclient wlan0

I ran all this command and I am very happy to say that wireless LAN did not work. 🙂 Then I ran this command

touch /etc/sysconfig/network-scripts/ifcfg-wlan0

and then edited this file. I entered all the data suggested here except that second line I wrote

DEVICE=wlan0

OK. Then i ran

neat

and edited the properties of wlan device by double clicking it and gave the 26 letters wlan key there and activated the device and it worked 😀