How To: Install Javascript Plugin in Eclipse

Today, I installed Eclipse on my Fedora 7 desktop. Everything is fine, but the default Eclipse does not have a plugin for JavaScript. So , I searched a lot on Google and read a lot of reviews about some JavaScript plugins available for Eclipse. And I finally reached the JSEclipse plugin by Adobe Labs. I had a good experience with it. Its great to work with and if you are looking for a javascript plugin for eclipse, just don’t search any more and install it. JSEclipse can be downloaded from here after registering with Adobe. Following are the simple steps to install the JSEclipse.

Launch Eclipse and do as suggested in images.

Step 1 :

Follow this image :

Help Software Updates Find And Install

Step 2:

Select “Search new features to install” and click next.

Search New Features To Install

Step 3:

Click “New archived site” and select the package or zip file you just downloaded from the above link and click open.

Choose New Archived Site

Step 4: Click OK.

Select Local Zip File And Click Open Then Click OK

Step 5: Check the package if not checked and click next.

Click Finish

Step 6: Check the features you want to install and click next.

Select Features To Install And Click Next

Step 7: Accept Terms and conditions and click next.

Accept Terms And Conditions

Step 8: Click finish and when it ask to restart eclipse just click yes.

Click Finish

Step 9: Voila !! JavaScript plugin is installed now. Have fun with it.

Eclipse With Javascript Plugin

PS: A lot of howtos are pending. Will Try to finish them asap 😀


Review : Fedora 8 Test 3

Fedora 8 Test 3 aka Fedora 7.92 is out now and available for download from Fedora mirrors. I downloaded the Test 3 Live CD iso and just tested in Virtual Machine qemu. Believe me, Fedora 8 is going to be a huge improvement in basic graphics in Fedora. The graphical interface is far better than the previous release and it’ll be a delight to work on the new default Gnome theme called Nodoka especially designed for Fedora 8.The new release has got glassy/glossy looks everywhere from buttons to icons to menus.The login screen has come a long way. The electronics spin of Fedora 8 will definitely be a gift for people studying electronics at engineering level as they have introduced some packages related to circuit design and all.

I am happy to see that eclipse will be back in Fedora 8. Also, Fedora 8 comes with codecBuddy which will help to guide people to use free alternatives of audio/video codecs. A better network support is guaranteed for sure 🙂 Also, developes are trying to limit the use of desktop environment as root. In Test 3 if you try to login as root, the gdm will display a warning.

If you want to browse complete feature list for Fedora 8 Test 3, it is available here.

More about Fedora 8 Test 3 in pictures below or you can browse these pictures here.

Login Screen New Default GNOME Theme New Clear And Glassy Menus The Terminal

New Grouped Preferences Menu Advanced Network Configuration Network Works Here Root Disabled

PS1 : Waiting for 8th November eagerly.


How To: Install and Configure Looking Glass 3D Desktop

I saw a video from Sun MicroSystems last year, in which they showed a demo version of a 3D desktop environment. It was really awesome and was the really 3D desktop environment. A lot of 3D desktop emulators are available currently like beryl, but they are not really 3D. Because one can’t go behind the windows, terminals etc. Believe me, Looking Glass 3D is far better than all vistas and beryls if only graphics are compared. Around two-three weeks when I was going through one of the tech magazines in library, I came across a topic which discussed desktop environments for Linux. I was surprised to see Project Looking Glass over there. Day before yesterday, I downloaded the Project Looking Glass 3D desktop environment for Linux from here.Project Looking Glass 3D desktop environment is a purely Java based desktop environment and it runs on top of Java virtual machine. It requires graphics card (at least on board). Here is a way to install nVidia drivers in Linux. The other requirement like processor and RAM are quite low and almost all systems can qualify for that. Looking Glass 3D is very easy to install. Below are the steps to install it on Fedora 7 (kernel-2.6.22.1-41.fc7, but the steps for other operating systems may be similar.

Step 1

Get lg3d–1-0-0-linux-i686-0612190943.bin from here.

Step 2

In a terminal switch to root user.

1
2
[saini@bordeaux saini]$ su [Enter]
Enter root password.

Step 3

Move the lg3d–1-0-0-linux-i686-0612190943.bin to /usr/share/ and go to directory /usr/share/

1
2
[root@bordeaux saini]$ mv lg3d--1-0-0-linux-i686-0612190943.bin /usr/share/ [Enter]
[root@bordeaux saini]$  cd /usr/share/ [Enter]

Step 4

Extract lg3d–1-0-0-linux-i686-0612190943.bin

[root@bordeaux share]$ bash  lg3d--1-0-0-linux-i686-0612190943.bin [Enter]

The files will be extracted to /usr/share/lg3d/

Step 5

Logout and login into root’s desktop environment and go to the directory /usr/share/lg3d/bin/

[root@bordeaux root$ cd /usr/share/lg3d/bin/ [Enter]

Step 6

Execute the following command.

[root@bordeaux bin]$ bash ./postinstall [Enter]

If this command doesn’t give any error, that means you have successfully installed the Looking Glass 3D desktop environment.

Now logout and on the login screen, choose Looking Glass as the desktop environment. Just login into your account and what you will see will be more than a surprise. Below are some screenshots of my Looking Glass 3D desktop. You can browse all my screenshots here .

PS0 : It may the best 3D desktop environment but is not really usable on slower machines especially with low end graphics cards.

Awesome Wallpaper in Looking Glass 3D 3D Clock in Looking Glass Four Desktops in Looking Glass Notes on Backside of VLC Media Player in Looking Glass

Trumplayer Album Art in Looking Glass I Can't Read Mails in Looking Glass Jumbled Directories in 3D in Looking Glass Random Directory 3D Tiles in Looking Glass


Review: Fedora 7 – Moonshine

As expected, I upgraded to Fedora 7 – Moonshine yesterday. The coolest feature I noticed is that it automatically detected my Ralink WNC-0301 wireless lan card. Well, support for other wireless lan cards like ipw2100, ipw2200 and ipw3945 is also there which is I think the best feature. Because I see a lot of people around fighting with there wireless lan cards to work under Fedora Cores.

The gui is kind of improved but one more cool thing that you will notice is the theme “flying high”. The wallpapers, splash screen, login screen are improved a lot. Overall, the artwork part is worked out hardly. Default font is also nice.

A lot of media players are provided. amarok and kaffeine are included first time but amarok with no mp3 support. You have to install gstreamer and gstreamer08 plugins to make it work. The system preferences menu is totally different with similar tasks being grouped.

In addition to all that now Fedora also has some basic directories in the home directory like Documents, Music, Pictures, Videos, Downloads.

Everything else is the same with upgraded versions.

Here is a Video of my current Fedora 7 desktop.

PS0 : There seems to be some problem after installing the nvidia driver for F7. Follow the procedure here replacing everything related to fc6 by f7 and at the end after configuring your xorg.conf file make these changes

The section “Files” should be like this

1
2
3
Section "Files"
	ModulePath "/usr/lib/xorg/modules,/usr/X11R6/lib/modules/"
EndSection

now restart the xserver and the nvidia will work 😀 .

For more info refer my xorg.conf for F7.

PS1 : If you are a IIITian, I suggest you not upgrade to F7 because iyum is not yet configured to cache F7 rpms and you have to install updates for your OS from the internet and that really sux. So, wait for iyum repo for F7 to be up and then upgrade.

PS2 : Pidgin has some memory leaks … its consuming 2GB virtual memory … here’s the proof … I am back to kopete again 😉

Pidgin Memory Leak

Pidgin Memory Leak

Edit : If you are looking for wireless configuration in Fedora 7, here is a reference.


How To: Install and Configure NVIDIA Drivers and Beryl

Well, finally I realized the power of my onboard graphics card … too lazy to realize even this (it took me a year to realize this obvious fact). I downloaded the latest nVidia drivers from here and also upgrade to the kernel-2.6.20-1.2944.fc6. You can get it from any site which provides rpms or you can install is using yum. Not to forget I did it on Fedora Core 6 – Zod. So, here goes the exact procedure.

Warning: Take a backup of your /etc/X11/xorg.conf file before experimenting with 3D desktop. It help in case of X server crashes.

1. Download the latest nVidia drivers from here.

2. Upgrade to kernel-2.6.20-1.2944.fc6

(a)Download rpms kernel-2.6.20-1.2944.fc6.i686.rpm and kernel-devel-2.6.20-1.2944.fc6.i686.rpm and install using

[root@zod saini] rpm -ivh kernel* [Enter]

OR
(b)

[root@zod saini] yum install kernel-2.6.20-1.2944.fc6 [Enter]

3. Reboot and switch to the newly installed kernel.

4. Login as root and delete the temp file for xserver

[root@zod saini] rm -f /tmp/.X0.lock [Enter]

5. Install the nVidia drivers

[root@zod saini] bash NVIDIA-Linux-x86-1.0-9755-pkg1.run --kernel-source-path=/usr/src/kernels/2.6.20-1.2944.fc6-i686/ [Enter]

A user interface(I don’t know what to call it, graphical user interface on command line) will appear, answer the basic questions and you are done.

6. run this command

[root@zod saini] nvidia-xconfig [Enter]

7. Open your /etc/X11/xorg.conf file in you favourite(Vim) editor and edit it as follows …

Add these lines to the “screen” section

1
2
Option     "AddARGBGLXVisuals" "True"
Option     "DisableGLXRootClipping" "True"

and Add this line to the “Device Section”

Option         "TripleBuffer" "true"

or you can use my xorg.conf with appropriate modifications.

8. Now install Beryl + emerald or compiz

(a) Get rpms from any site which supplies rpms for packages in fedora and install

[root@zod saini] rpm -ivh beryl-* emerald-* [Enter]

OR

[root@zod saini]  rpm -ivh compiz-* [Enter]

(b) There is always a short cut

[root@zod saini]  yum install beryl* emerald* [Enter]

OR

[root@zod saini]  yum install compiz* [Enter]

9. Now logout and login again and run command beryl-manager or compiz and you are done with installing beryl/compiz with latest nVidia drivers. Enjoy the 3D desktop.

10. If in the above process your X-server crashes, press Ctrl-Alt-F1 and login as root, replace your existing /etc/X11/xorg.conf file with the backup you took in the beginning and do startx.

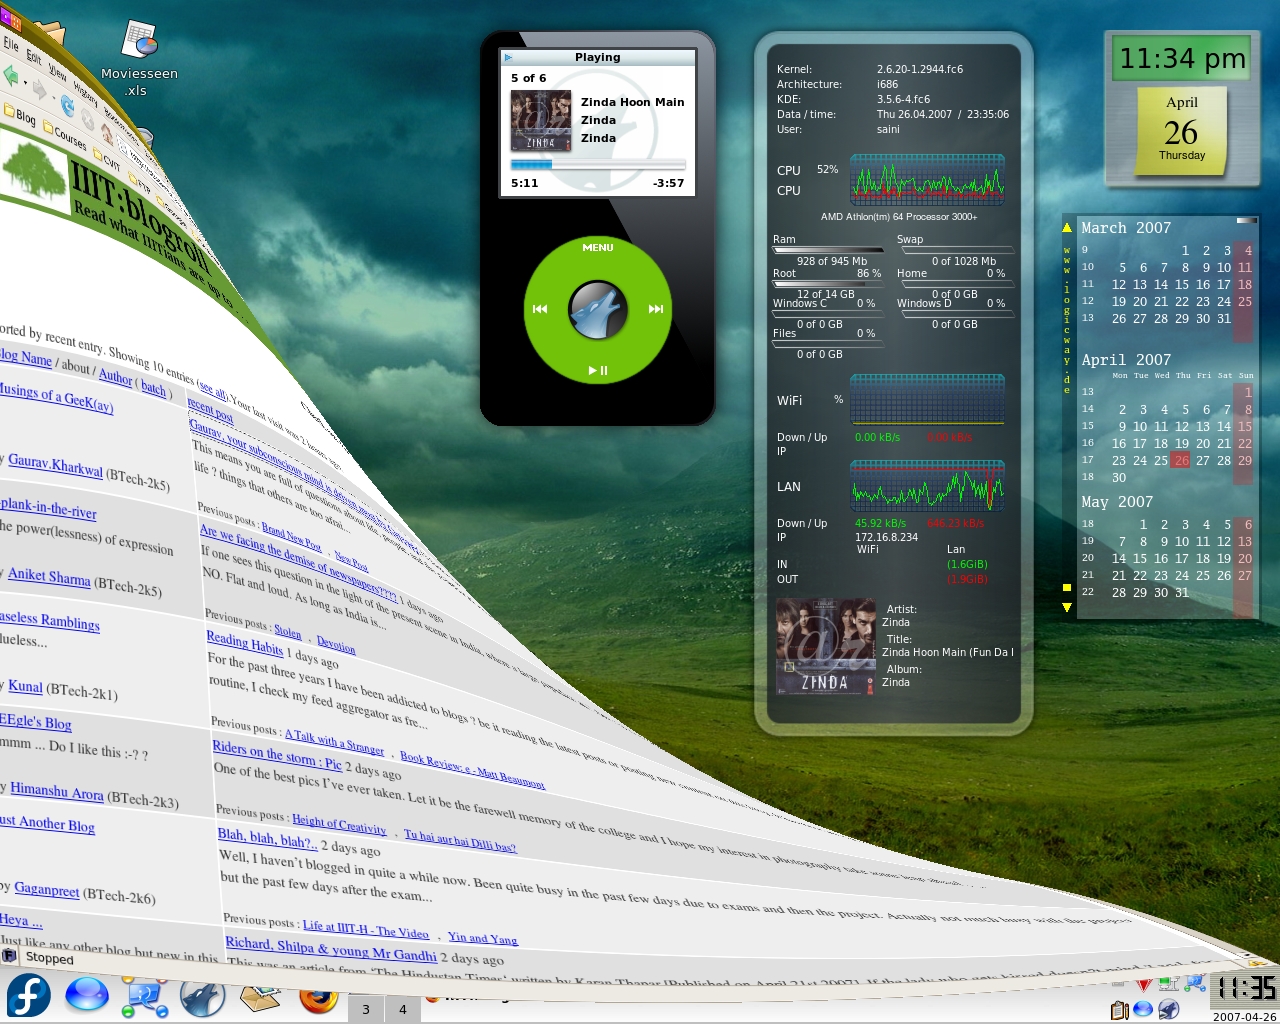
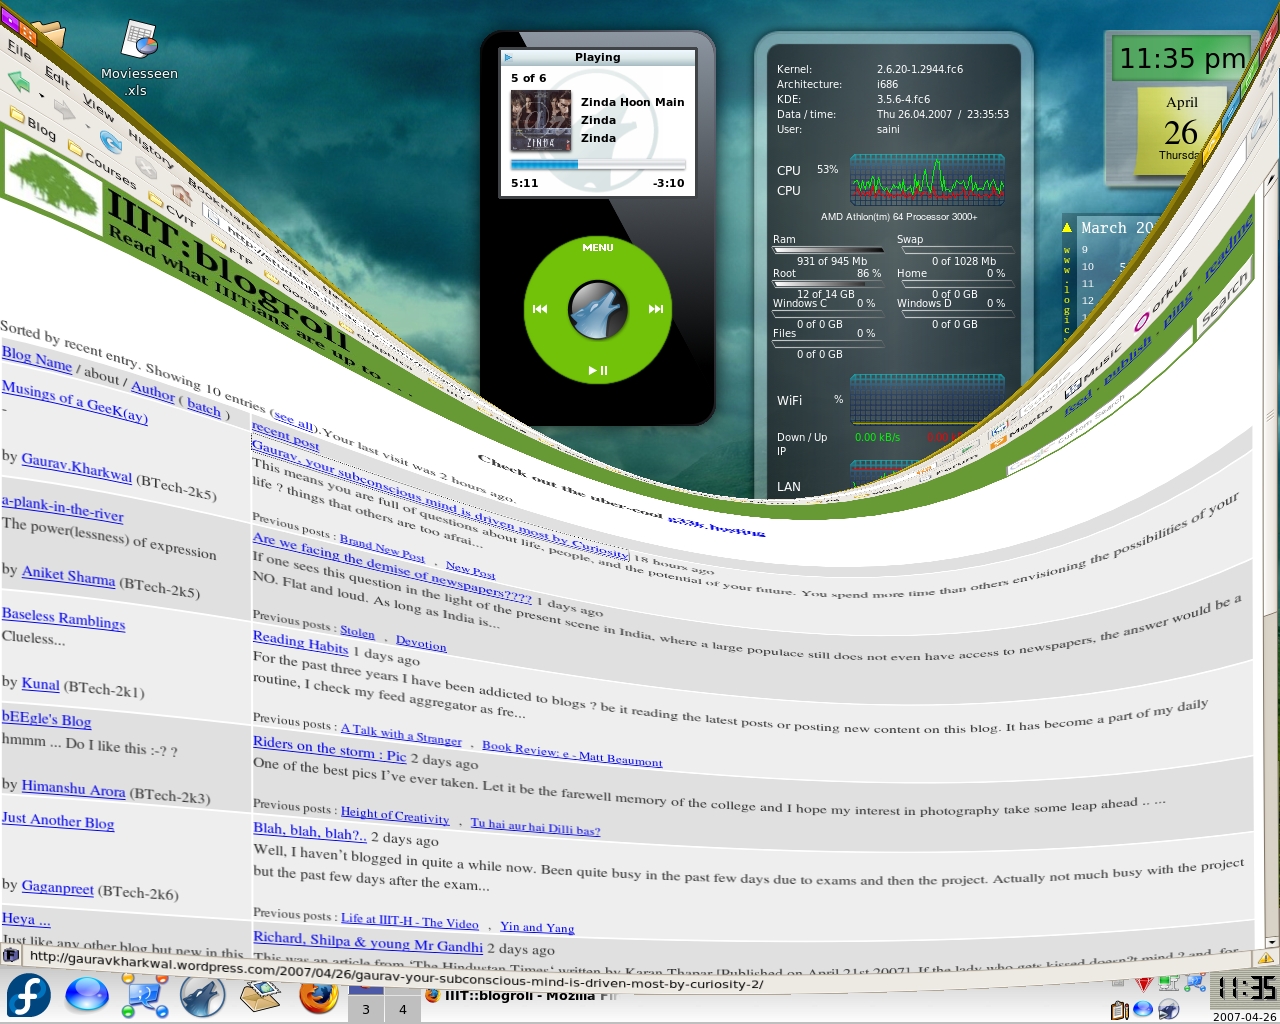
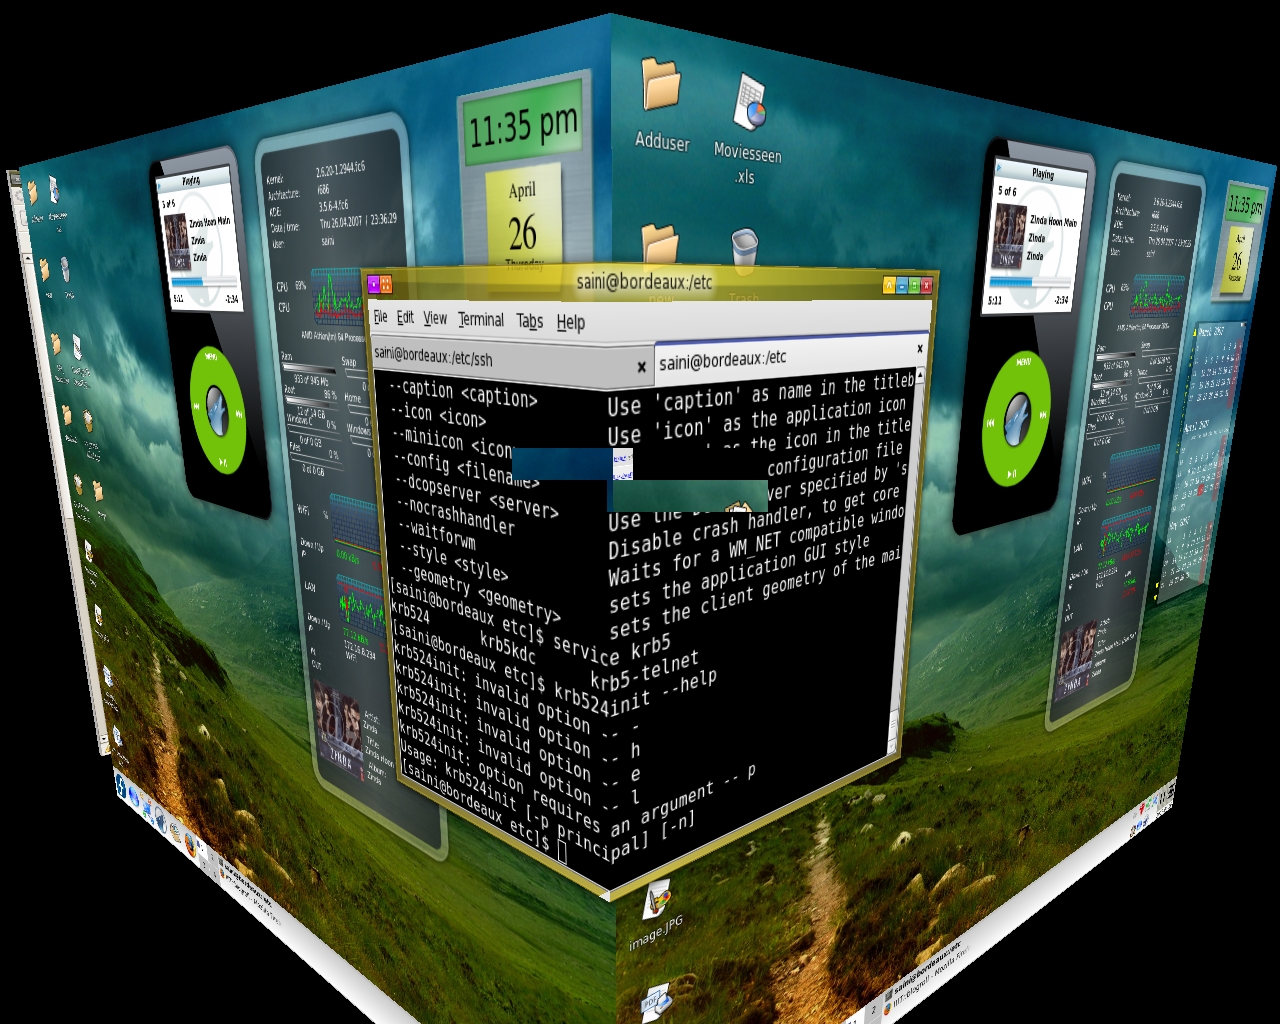
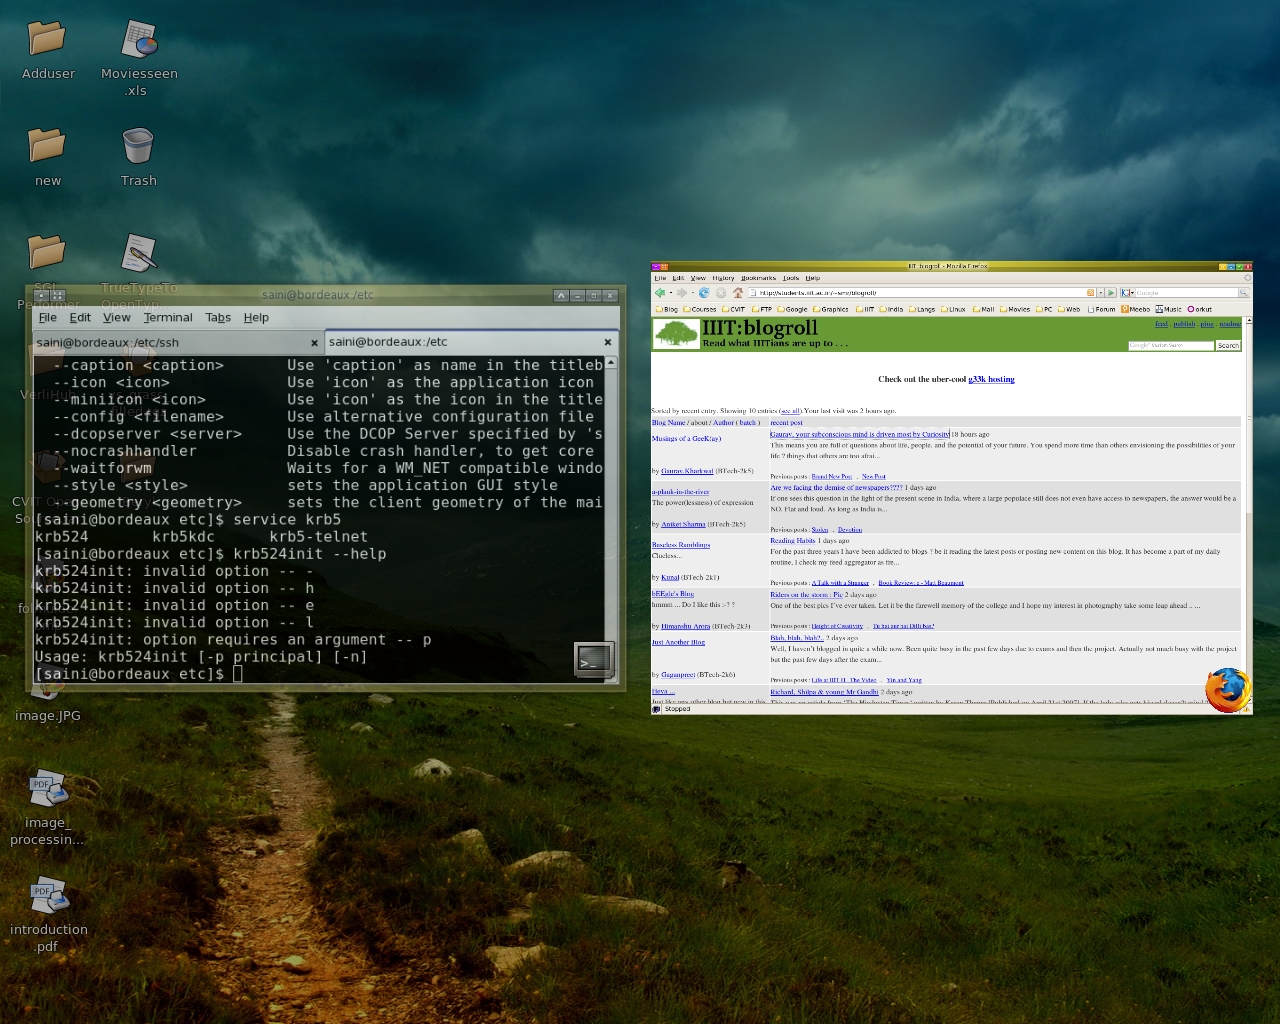
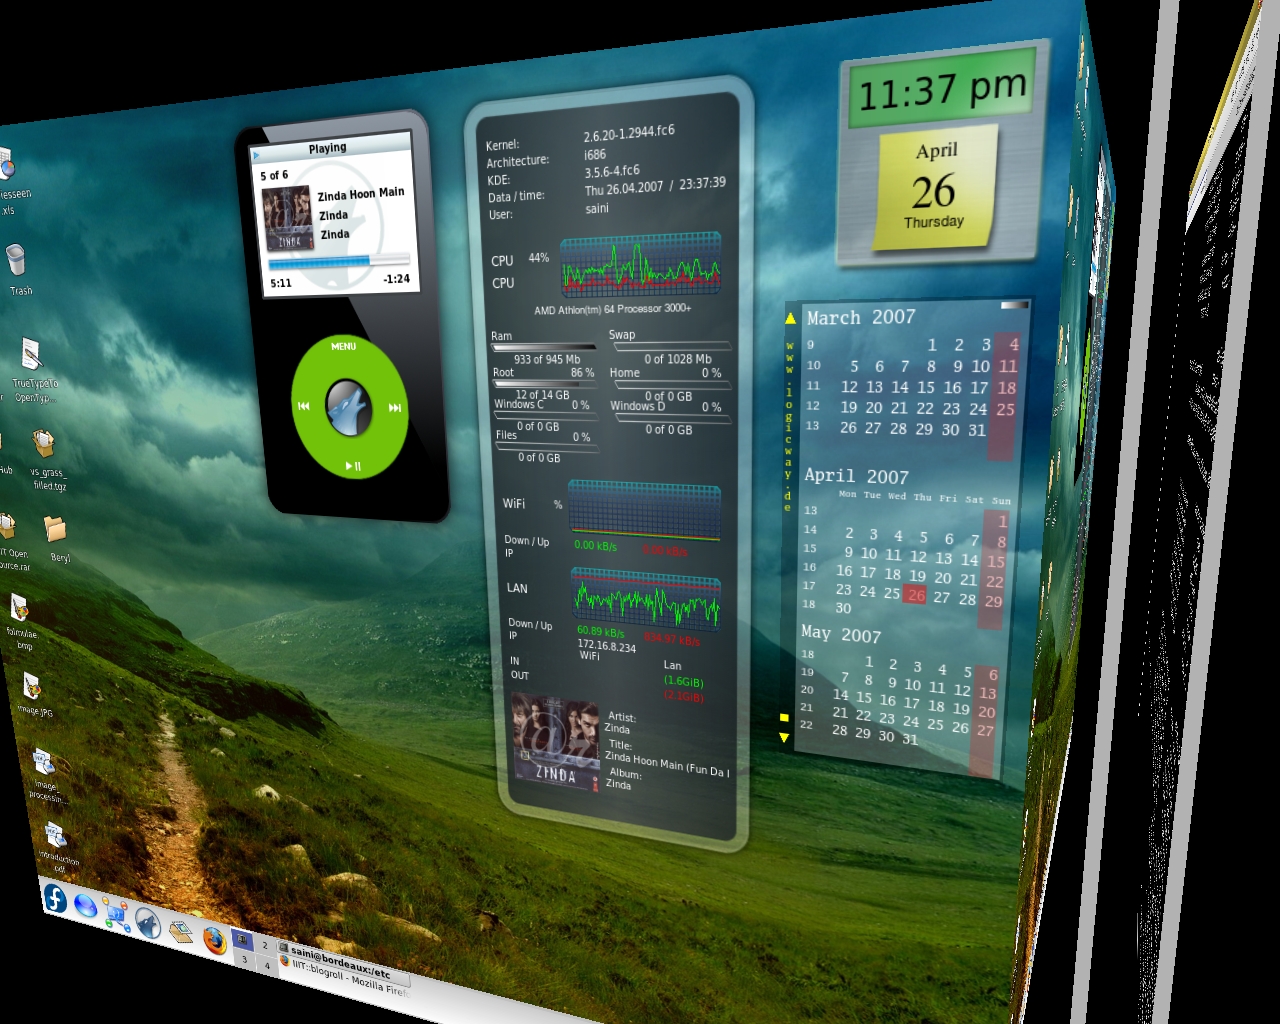
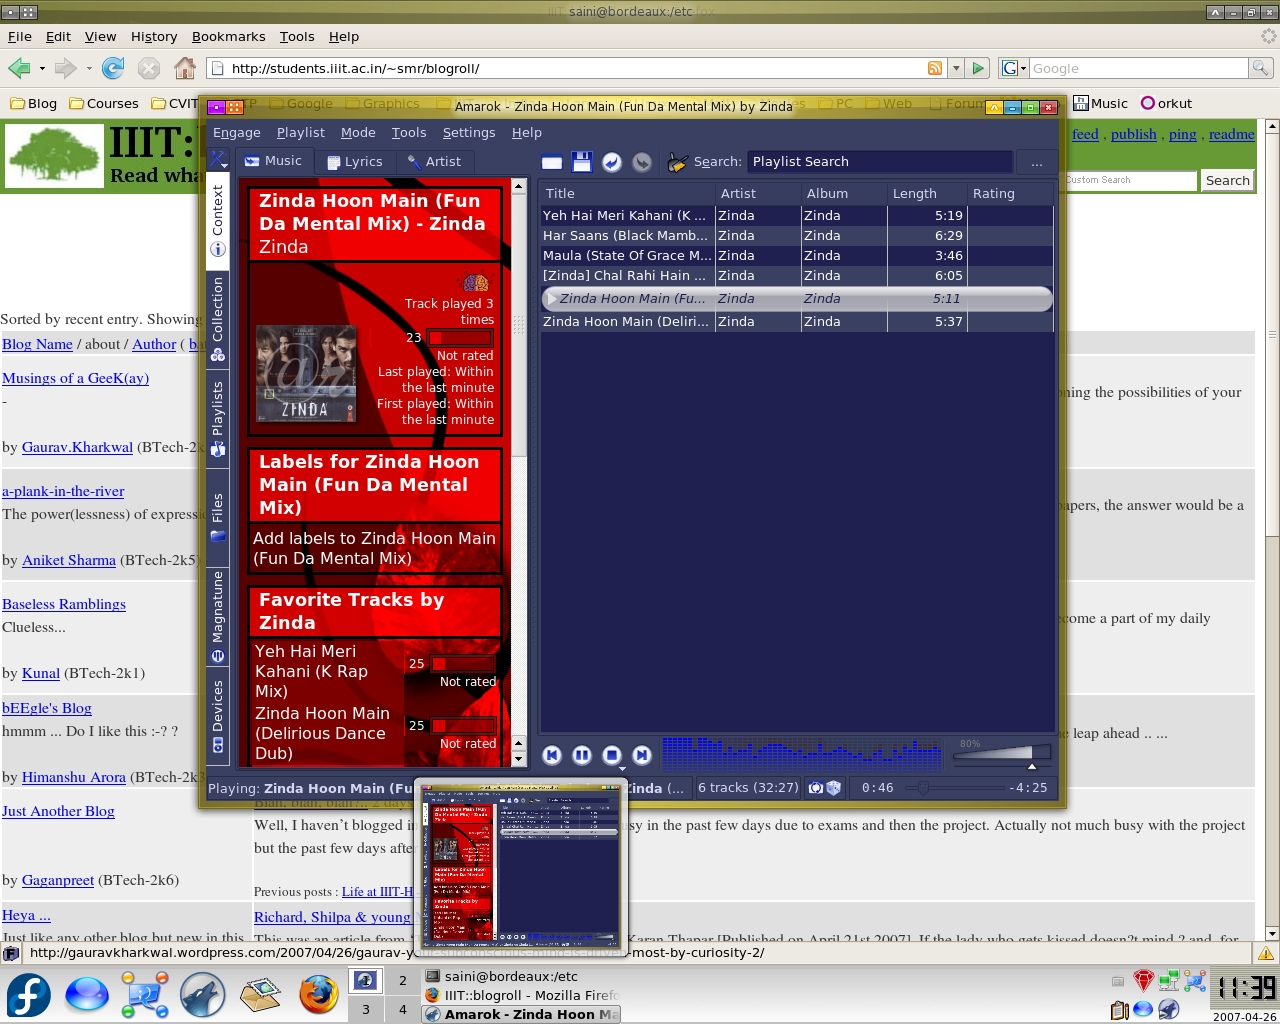
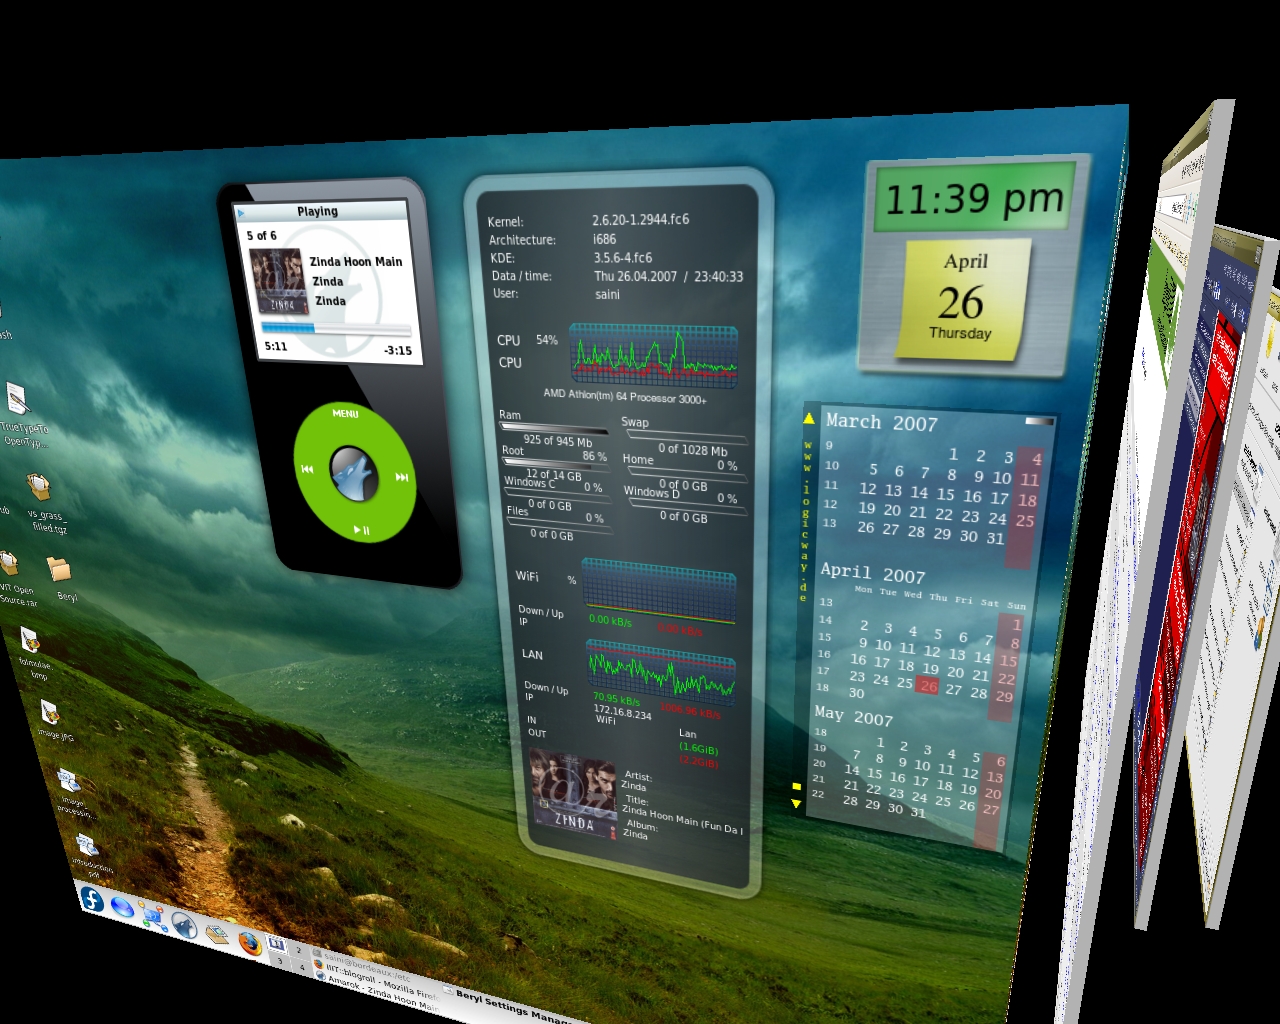
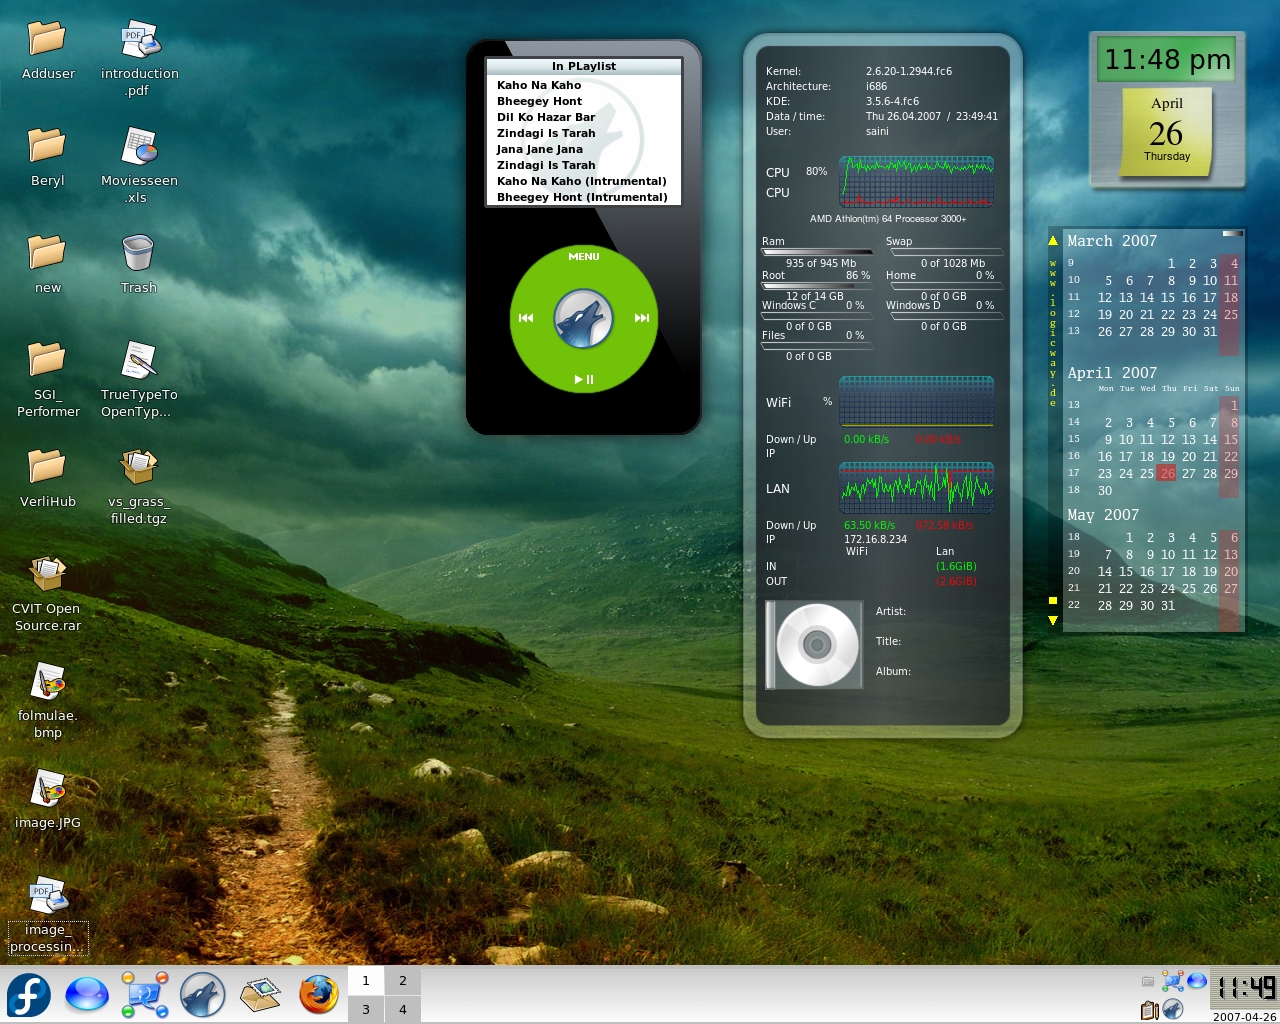
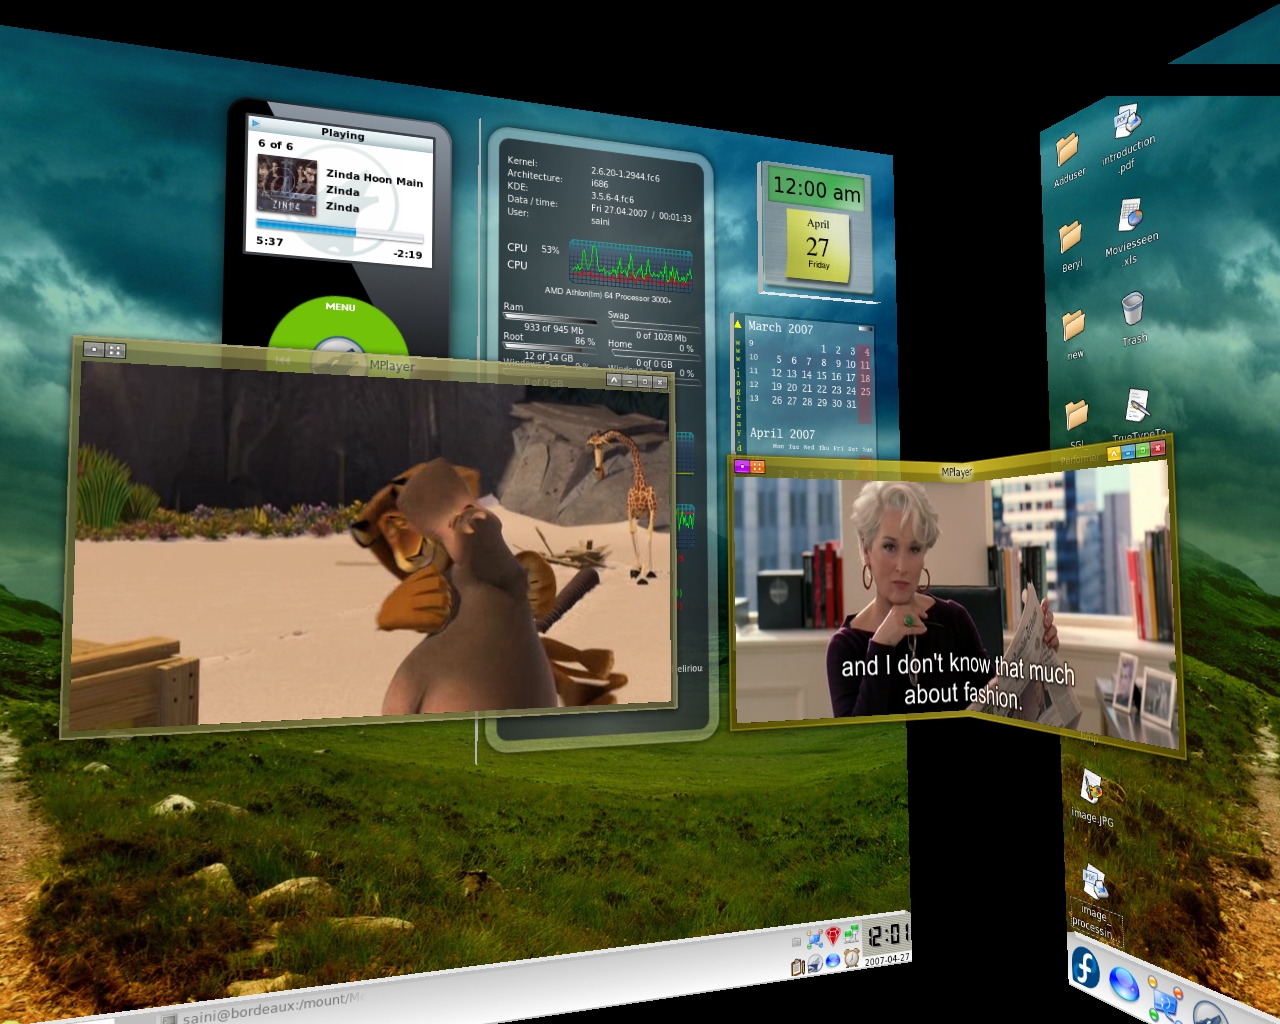
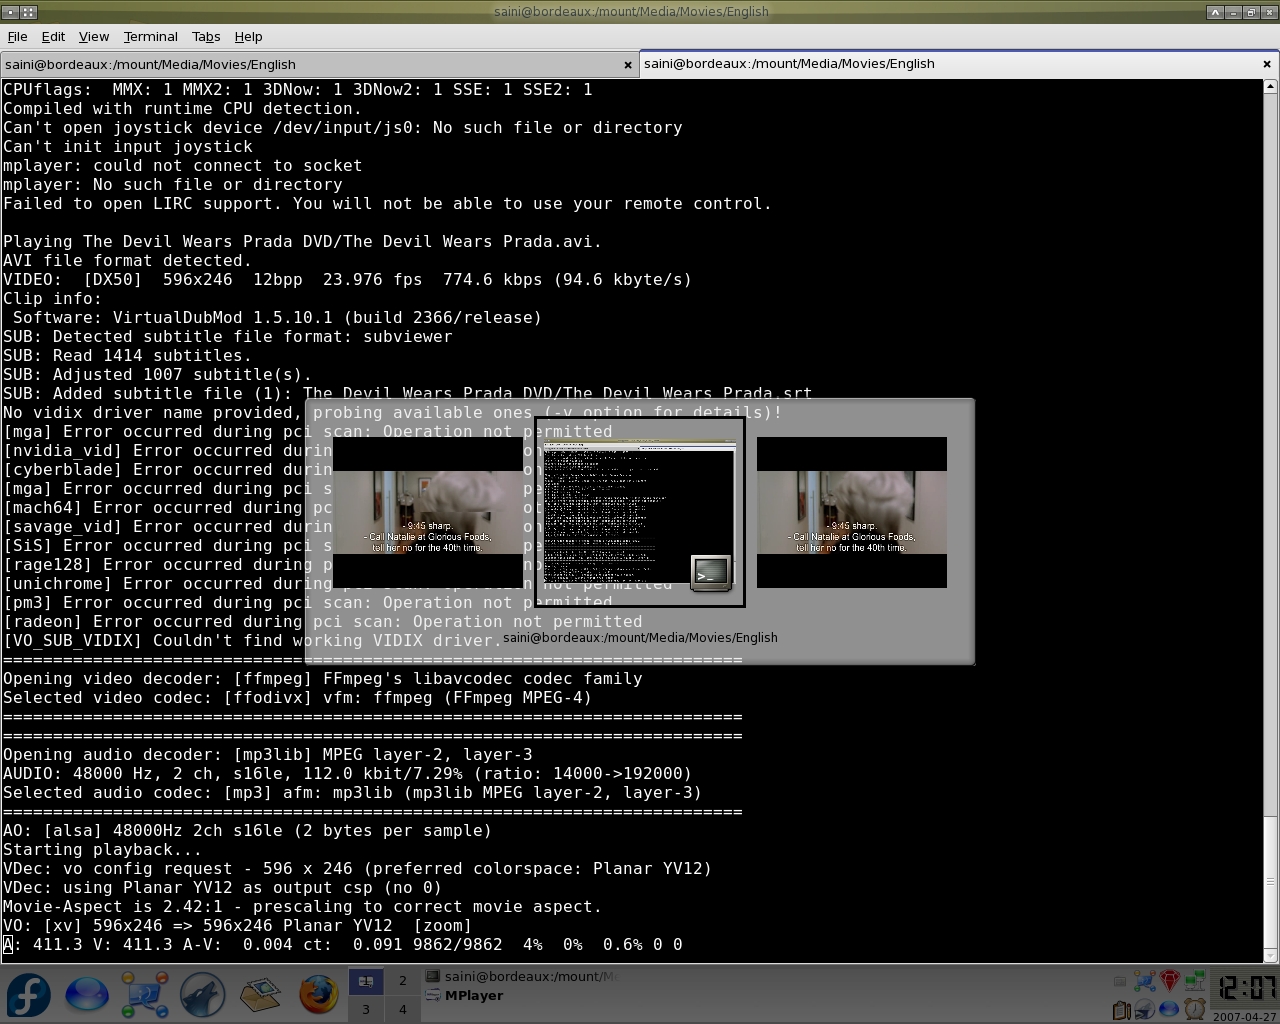
I installed the above packages on Fedora Core 6, the Hardware is Nvidia Ge Force 6100 onboard.

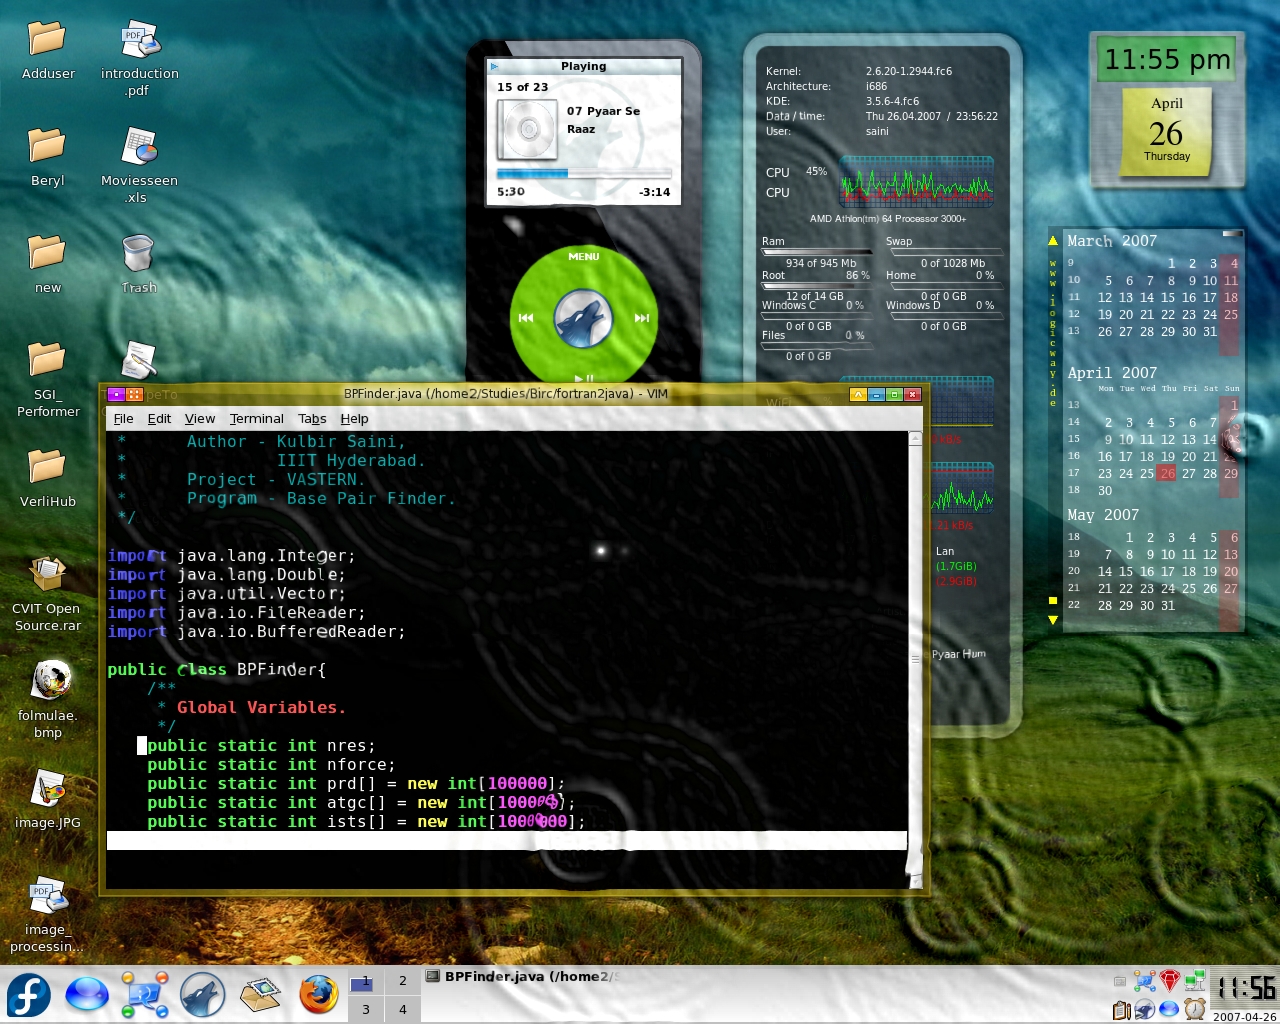
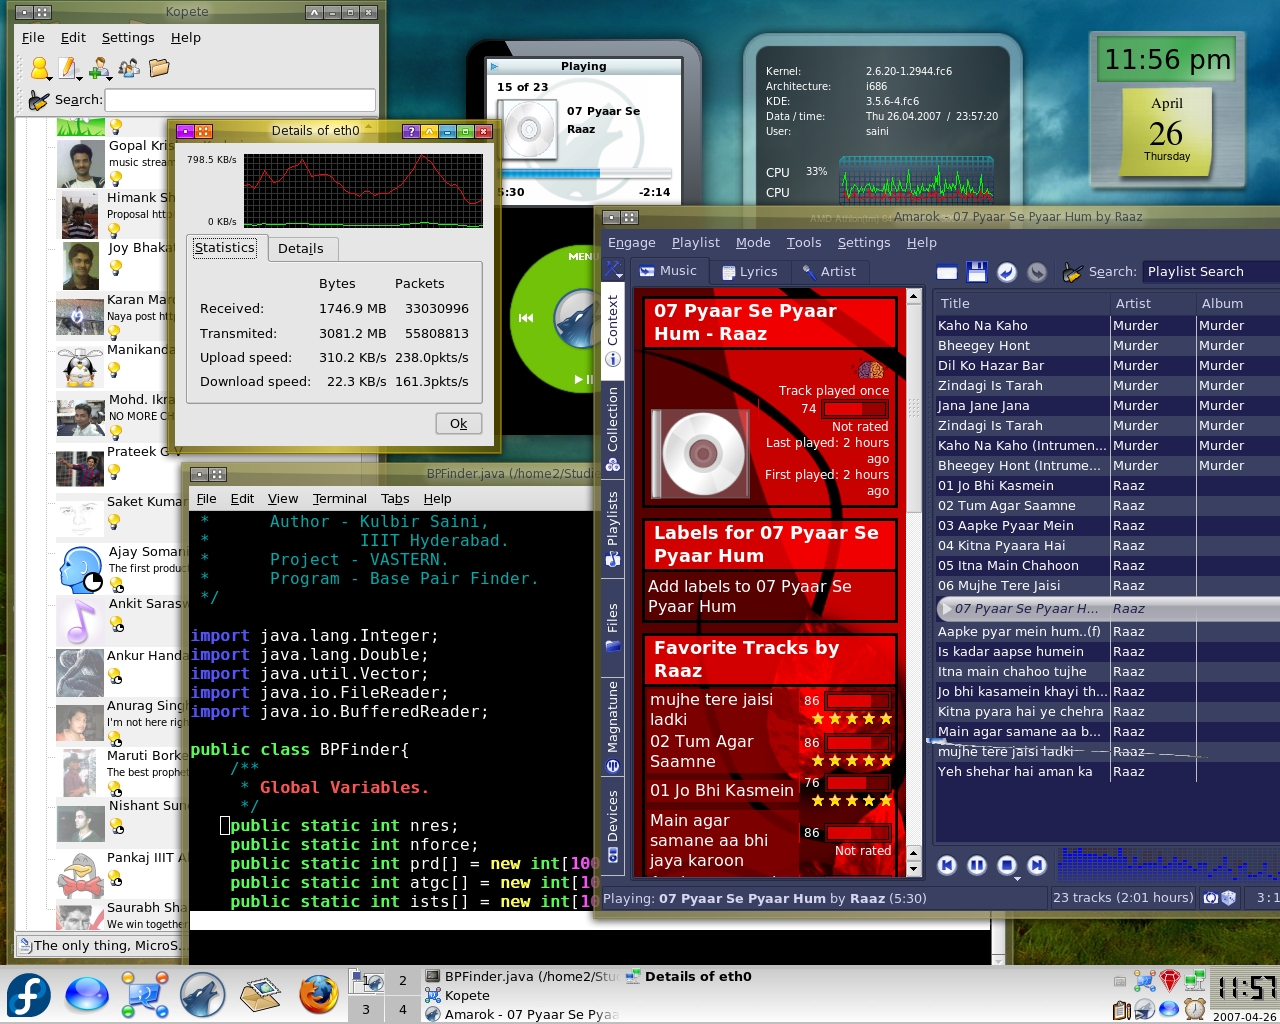
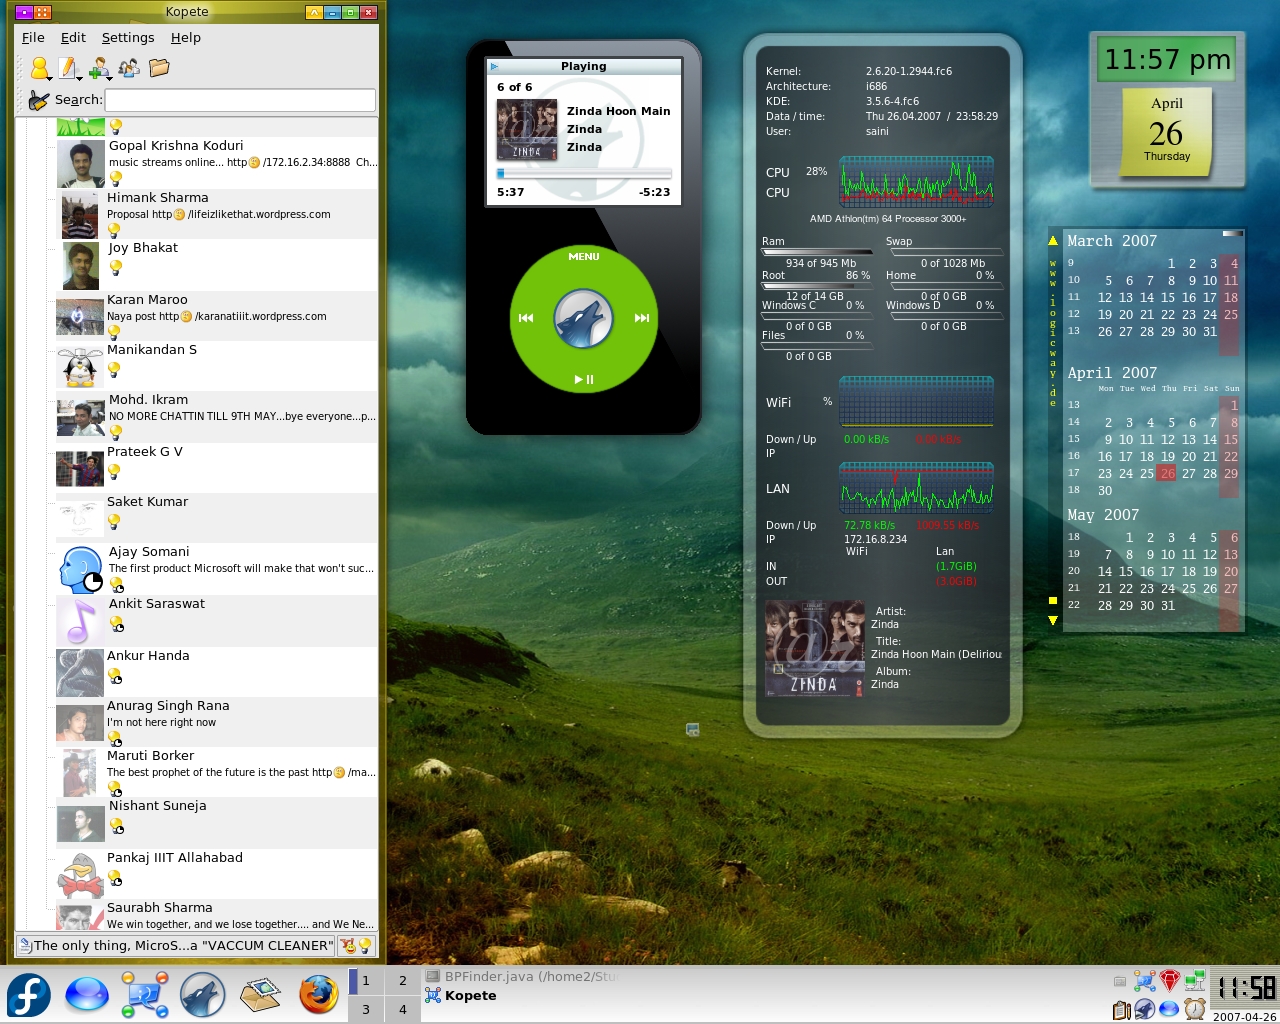
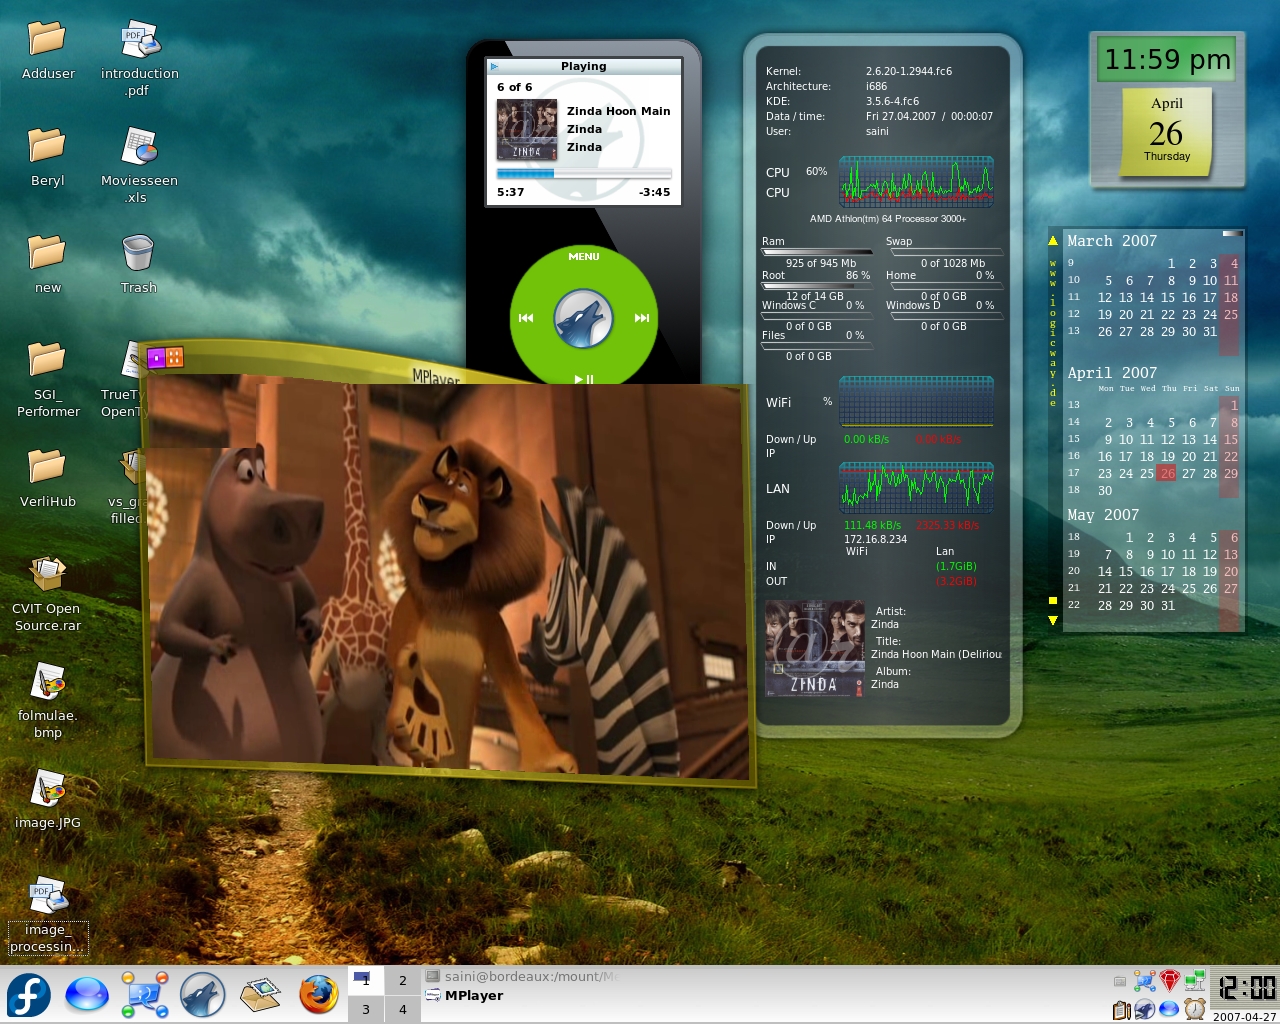
Here are some screenshot of my 3D Desktop ( They can also be seen here ).